Setup SSO for Azure AD
Connect your Azure AD account to Gathr and enable SSO.
This topic covers the steps to set up SSO for Azure AD as preferred identity provider.
Prerequisites
You should have signed in to Gathr as an Organization Administrator.
Application Management privileges in Azure AD. If not, contact an Azure AD App Admin in your organization before continuing.
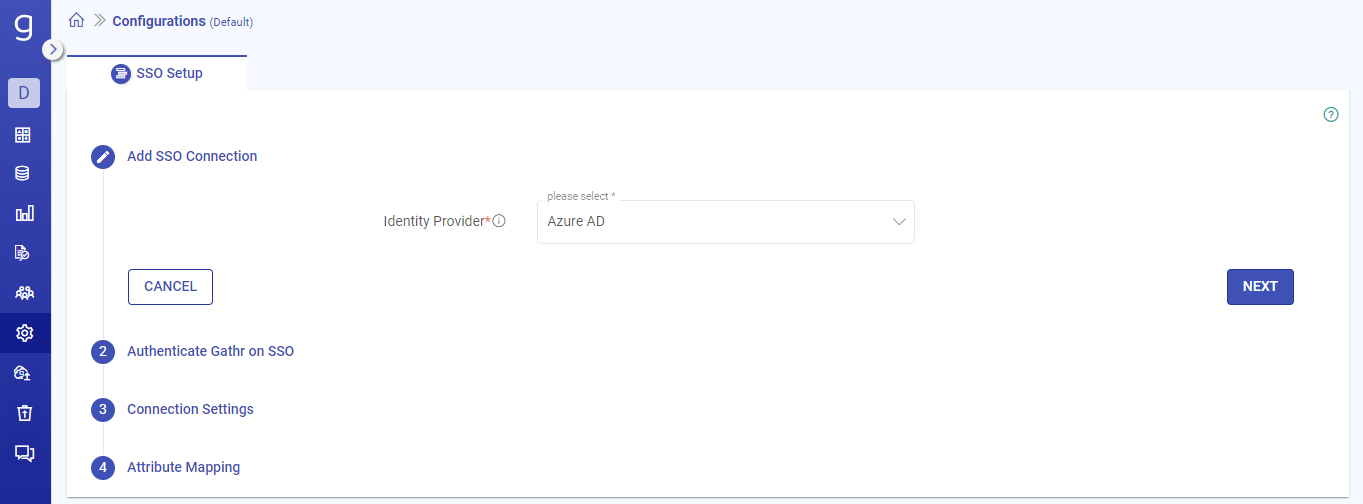
Select IdP as Azure AD
Select the identity provider as Azure AD from the list and move to the next step.
Authenticate Gathr
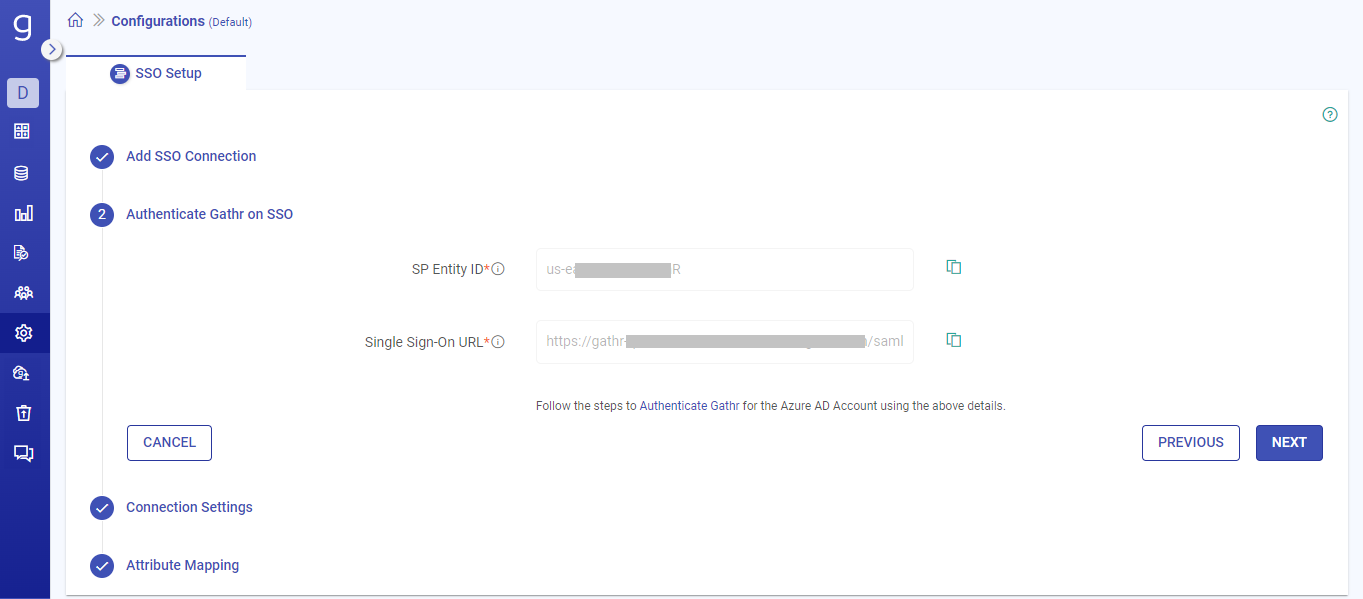
Steps to authenticate Gathr on Azure AD account
Sign in to the Azure AD account. and on the Enterprise applications page, click New Application.
On the Azure AD Gallery page, click Create your own application.
Enter a name for the application, and when finished, click Create.
On the app’s Overview page, click Manage Single-sign on.
Next, on the Select a single sign-on method page, click SAML.
On the next page, click Basic SAML Configuration > Edit.
Paste the SSO URL and SP Entity ID that you had copied earlier.
When finished, click Save.
Add the required attributes for the app:
Click Next and then Finish to save the app’s configuration.
Add Metadata URI
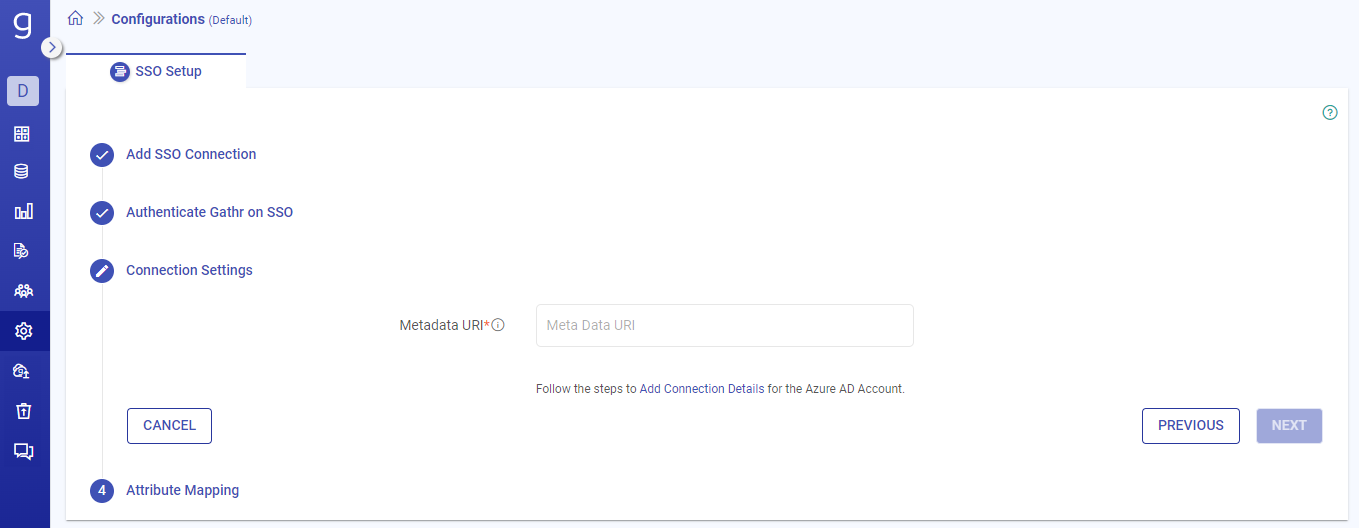
Steps to add metadata URI
Switch back to Gathr console and click NEXT.
On the Connection Settings page, paste the Identity Provider metadata link and click NEXT.
Attribute Mapping
Provide the attribute mappings for the First Name and Last Name as defined in Azure AD.
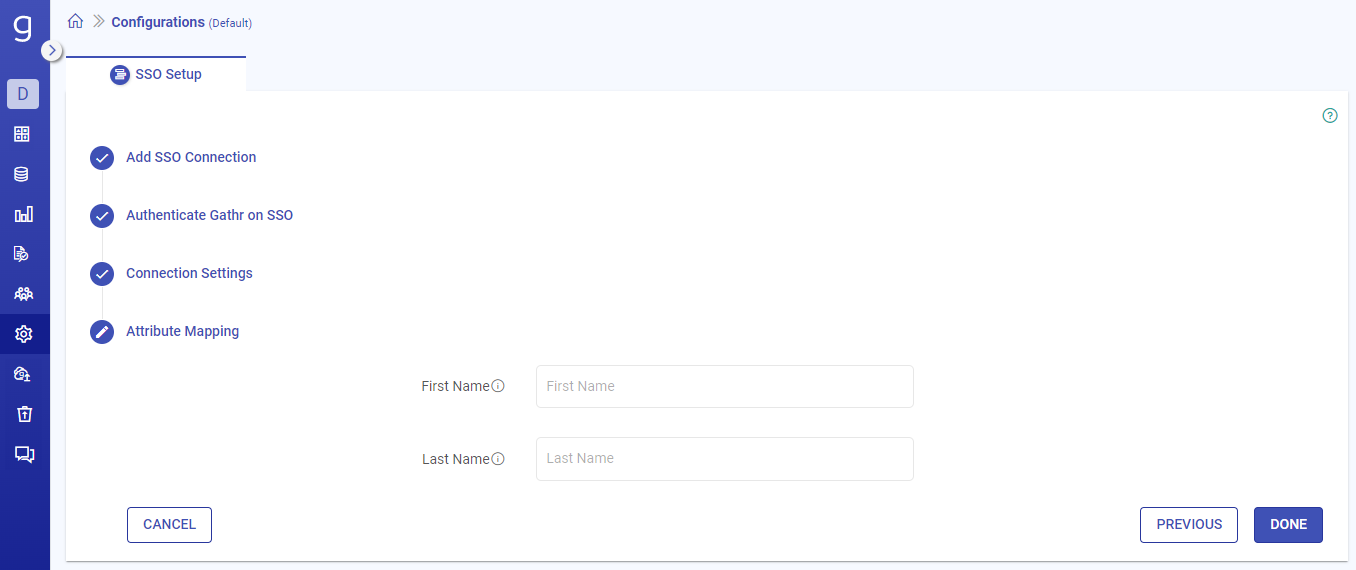
Click on Done to complete the SSO setup for Azure AD.
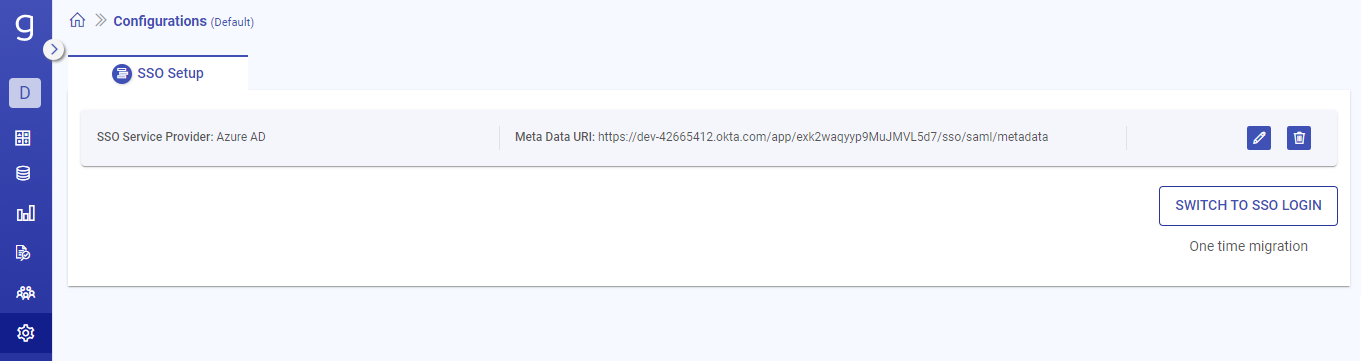
Azure AD as the SSO service provider will get listed on the SSO Setup tab.
Finally, grant access to the Gathr users in Azure AD to ensure that all the invited users can sign in via SSO.
If you have any feedback on Gathr documentation, please email us!