Create ETL Application
Build ETL applications in Gathr. Effortlessly select data sources, processors, and emitters to extract, transform, and load data seamlessly.
Utilize prebuilt operators for efficient data integration and transformation before loading to target solutions.
Steps to Create an ETL Application
Steps to create an ETL application: Select any source or target and proceed by following the given steps.
The configuration parameters for each connection, source, transformation (operators), function, and emitter are explained individually in the relevant topics. Consult these topics when configuring the necessary entities.
For details on configuration parameters for connections, sources, and targets, please refer to the Connectors section.
ETL Applications Home Page
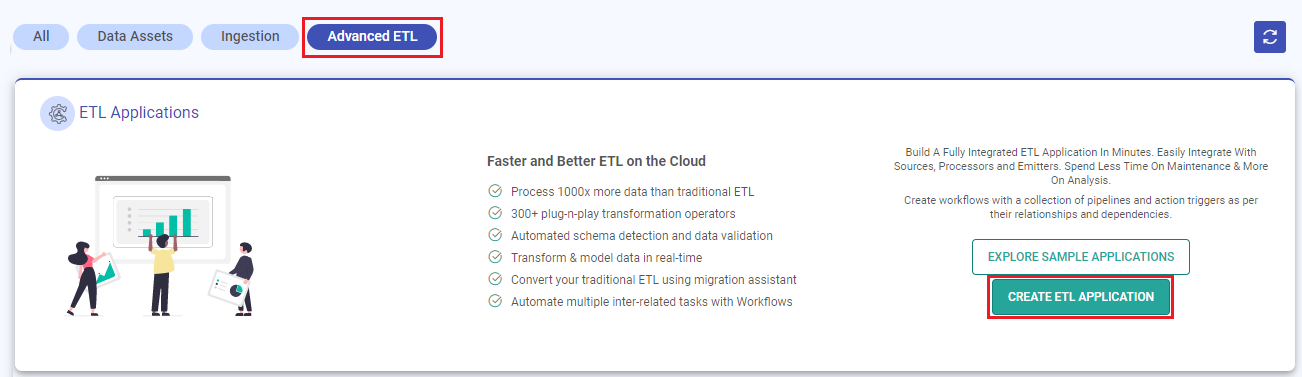
Go to the Applications home page from the main menu and click on the CREATE ETL APPLICATION option.
A blank canvas will appear listing supported Data Sources, Processors, Analytics and Emitters as shown below:
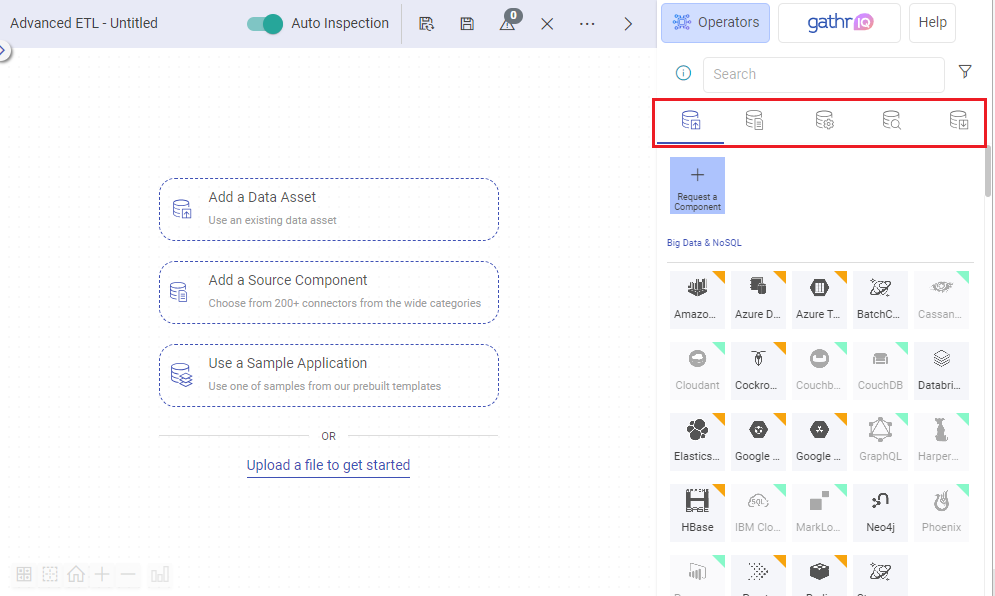
You can easily add existing data assets and data source components or explore sample application flows from the ETL canvas.
Request a Component (Optional)
If any component you are looking for is not there in the list, then you can simply request it by clicking on the Request a Component tile which is the first option on each Data Sources, Transformations, and Emitters tab.
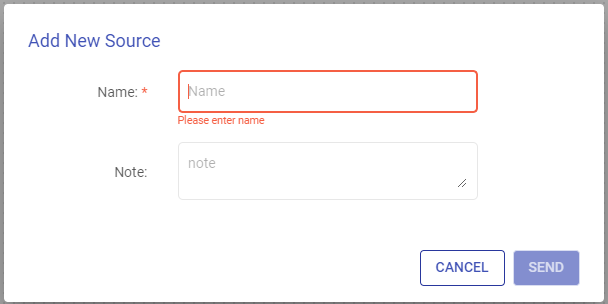
An additional window will appear with the title as Add New Source/Processor/Analytics/Emitter based on the type of component that you request.
Provide the required component’s name and a short description about your request and click SEND to submit your request with Gathr support team.
Subscribe Premium Connector (Optional)
Contact your administrator to subscribe to premium connectors or request available ones. For more details, see the Connector Marketplace topic.
Also, if you are using any Premium Connectors in your application, you must be in a paid plan to run the application. Please see the Subscription Plans topic for more details.
Select and Configure Data Source or Add Data Asset
On the ETL canvas, click the required option to add a data source or data asset on the canvas.
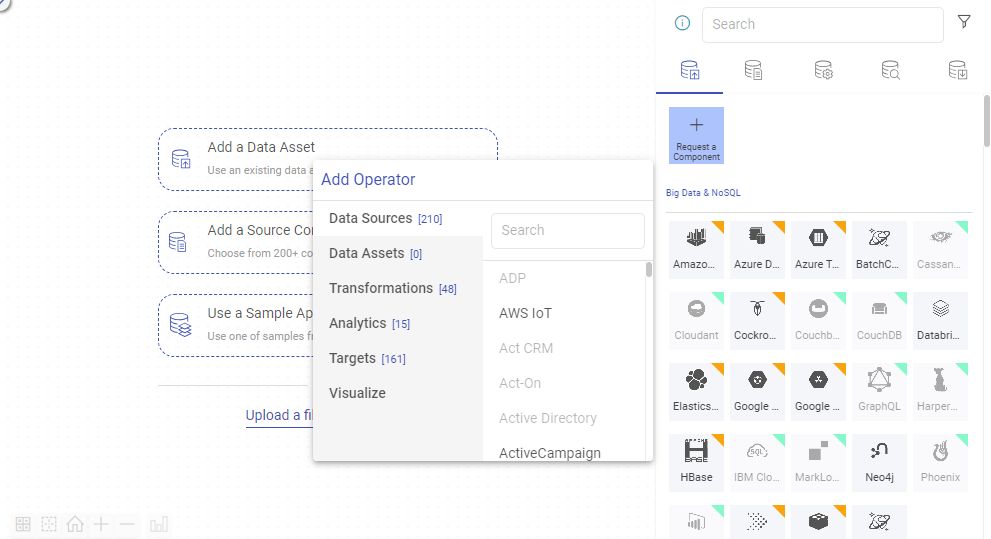
Alternatively, in the Components panel, under the Data Sources/Data Assets section, click on the required data source(s) or drag and drop them onto the canvas.
Right-click on each component to get the options to configure, rename, clone, or delete the added data source(s).
Continue adding components as needed for your use case, using the + icon next to each connector on the canvas or directly from the components panel.
Configure the Data Source as explained below:
Depending upon the type of data source selected for configuration, there will be different tabs visible such as Schema Type, Configuration, Incremental Read, Pre Action and Notes as shown below:
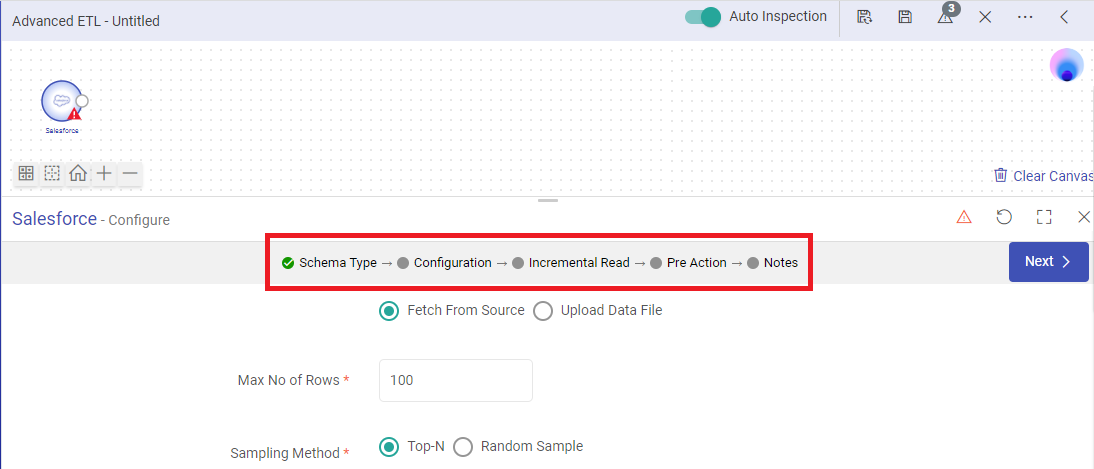
Schema Type: The first step in configuring an ETL application is to provide the data types that needs to be fetched from the source. To understand about how to provide inputs for data types to enable schema mapping for your ETL application, see Provide Schema for ETL Source →
Detect Schema
An additional tab Detect Schema is reflected after the required data types are extracted.
You can choose to edit the basic details (like column alias names, column data types, drop specific columns, etc.) on this page.
Next to Column Alias there are two options.
With the Update Header option you can upload a comma separated file to update all the headers in one go.
With the other option you can remove all the unsupported characters from the column alias in a single-click.
Notes:
For Advanced Mongo data source, on the Detect Schema page there are three additional options:
MARK ALL AS STRING: Option to convert the data type to string for all the columns in one click.
DOWNLOAD SCHEMA: Option to download incoming schema as a JSON file. The same can be edited to modify the data types of columns.
UPLOAD SCHEMA: Option to upload schema JSON file. Make sure that only the data types are updated in the JSON file for the pipeline to give expected results.
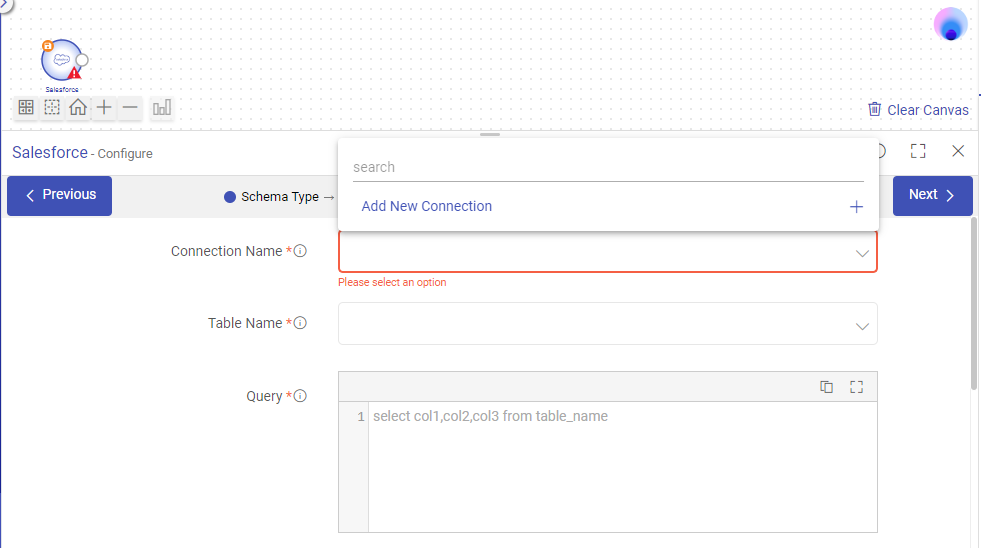
Configuration: The Configuration tab has got options to provide connection details and other configuration parameters for the data source as applicable.
Add a Connection
If your chosen data source requires a connection to interact with Gathr, you can create a new connection or use an existing one (if previously created) from the list of Connections.
Each connection will have different configuration propertiess based on the type of source that it needs to connect. If you need help with configuration options for any connection, see its in-app help.
Click on TEST CONNECTION to make sure that a successful connection is established, configure the source parameters on the Configuration page and click NEXT.
If you need help with configuration options for any source, see its in-app help.
Advanced Configuration Options for Data Sources
Incremental Read: You can choose to enable incremental read on the Incremental Read tab. This is useful if the need is only to read the objects that have been updated in the source, since the last execution of the application for the given configuration.
If enabled, an offset time can be provided that will act as trigger for last modified time of the records to be fetched incrementally.
Pre Action: There are certain actions that can be added for source components like providing additional inputs as SQL/Stored Procedure to query the sources during runtime.
To understand about various inputs that can be provided in Pre Action tab, see Pre-Actions →
Notes: Option to write notes specific to the ETL source.
Once all the necessary tabs for data source are configured, click on DONE to save the changes.
Apply Transformations
To add required transformations in the ETL application canvas, click on the processor components that are needed or drag and drop them on the canvas adjacent to the source from the Processors list.
Configure the Processors added on canvas as follows:
Configuration: Add configuration details for the selected Transformations and click NEXT.
If you need help with configuration options for any processor, see its in-app help.
For specific transformations, if you need help with configuration options for any functions, like Array, String, Lookup, and so on, see Functions →
To add analytics processors and create models for training and prediction, see Data Science →
Notes: Option to write notes specific to the ETL processors.
Once all the necessary tabs for Processors are configured, click on DONE to save the changes.
Select and Configure Emitter
On the Emitters section, click on the required target(s) or drag and drop them on the canvas adjacent to the component that should be linked to the target. Right click on each emitter component to get the options to configure, rename or delete the added emitter(s).
Configure the Emitters as explained below:
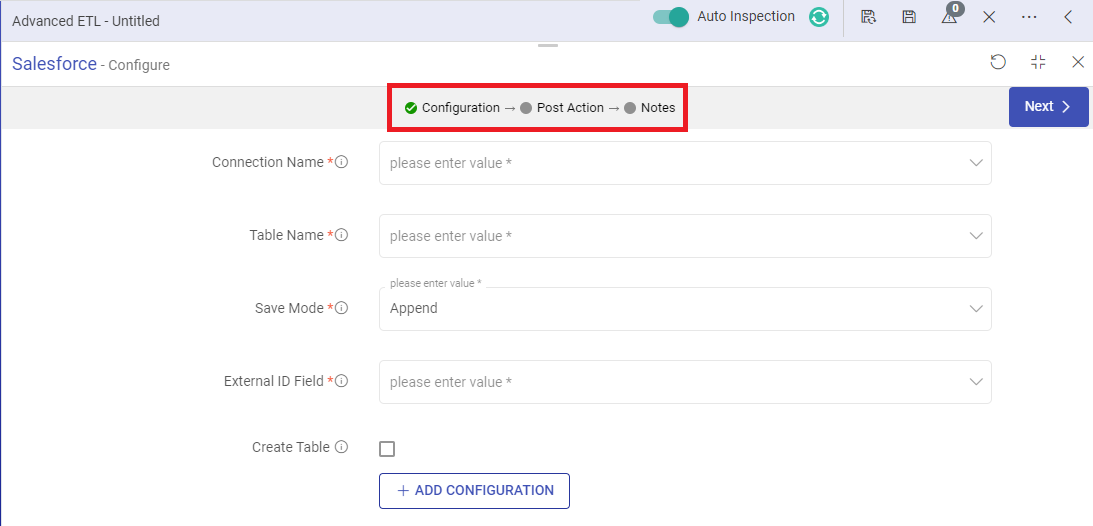
For each emitter there will be different tabs visible such as Configuration, Post Action and Notes as shown below:
Advanced Configuration Options for Emitters
Configuration: The Configuration tab has got options to provide connection details and other configuration parameters for the emitter as applicable.
If your selected emitter requires a connection to communicate with Gathr, please add a new connection or use any existing one if available in the list of Connections.
Each connection will have different configurations based on the type of target that it needs to connect. If you need help with configuration options for any connection, see its in-app help.
Click on TEST CONNECTION to make sure that a successful connection is established, configure the emitter component’s parameters on the Configuration page and click NEXT.
If you need help with configuration options for any emitter, see its in-app help.
Post Action: There are certain actions that can be added for target components like providing additional inputs as SQL/Stored Procedure to query the emitters during runtime.
To understand about various inputs that can be provided in Post Action tab, see Post-Actions →
Notes: Option to write notes specific to the ETL target.
Once all the necessary tabs for targets are configured, click on DONE to save the changes.
Auto Inspect ETL Application
- Auto inspect the ETL application once all the required components are configured. To know more, see Auto Inspection →
Save ETL Application
Save the ETL application as follows:
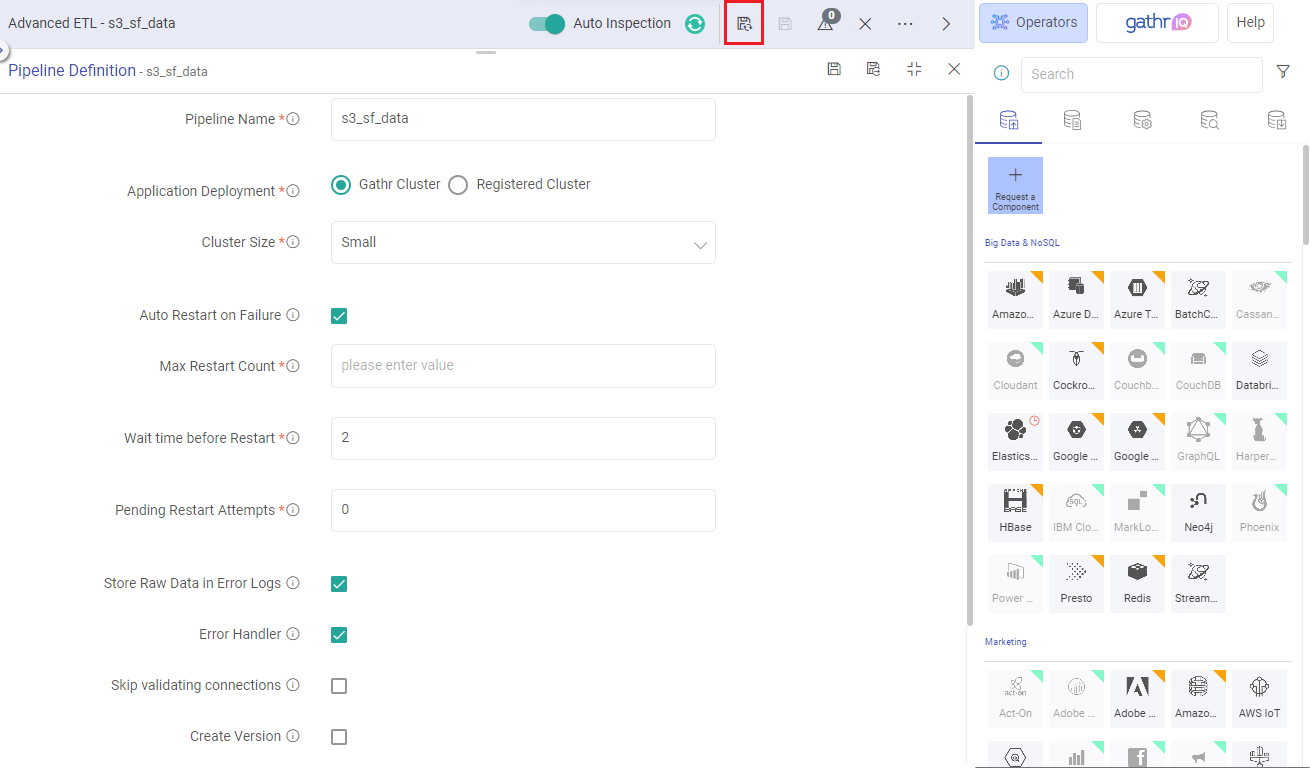
Provide the inputs for saving or updating the ETL application on the Pipeline Definition page. Each parameter is explained below:
Pipeline Name: A unique name for the ETL Pipeline should be provided.
Application Deployment: Option to choose the application deployment on either Gathr cluster or EMR cluster associated with the registered compute environment.
To know more about Application Deployment and Cluster Size preferences, see Configure ETL Application →
Once all the necessary parameter values are provided, click on the save and exit option. You will be redirected to the ETL pipelines listing page.
In summary, these steps will help you build your ETL application.
If you have any feedback on Gathr documentation, please email us!