Create Project
In addition to the default project, you can create any number of projects in Gathr.
Steps to create a project
Login to Gathr and navigate to the Projects page from the main menu.
Click on Create Project option and provide the necessary details.
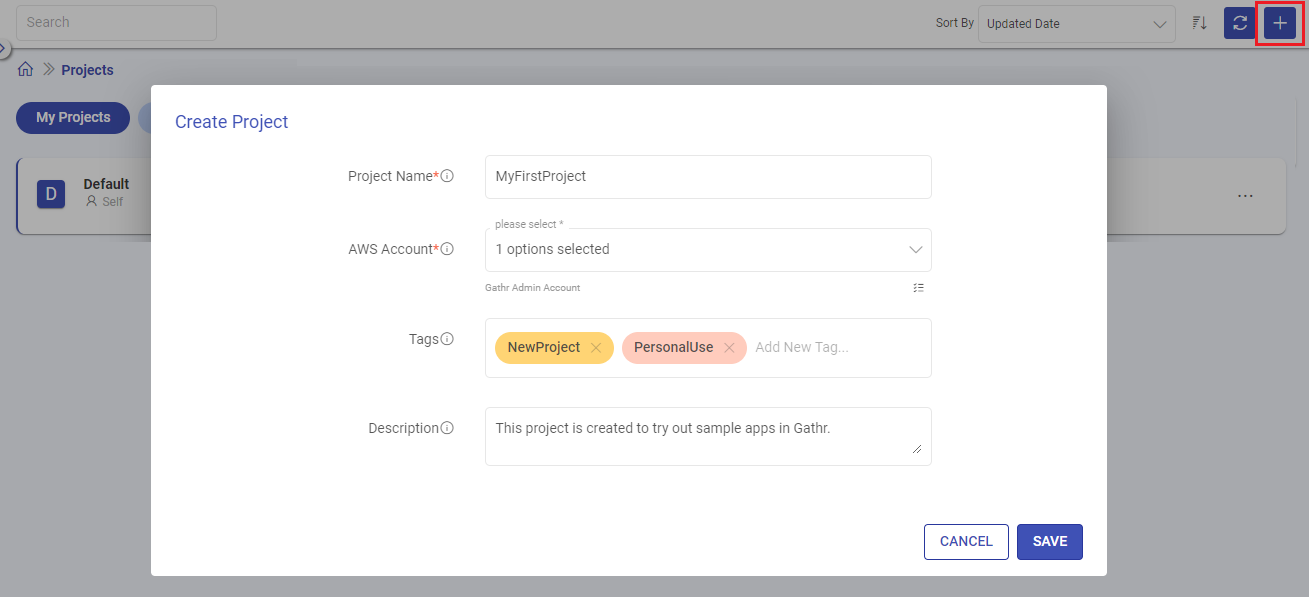
The fields asked during Project creation are described below:
Field Description Project Name A unique name for the project should be provided. Account Type Select the cloud account to be mapped with the project. Account Select the account name listed as per the the selected account type. The clusters associated with the selected account(s) will be available for deploying jobs within this project.
Gathr Admin Account is selected by default and it signifies that Gathr’s Cluster will always remain as an option for deploying applications.
Select other accounts that you want to have as deployment options.
For AWS or Databricks account entries to get listed, it is required by the Organization Administrator to do a compute setup in Gathr.
For more details, see the topic Compute Setup →Tags (Optional) Tags can be added to the Project. Description (Optional) Description can be added to the project. Click on SAVE after providing the necessary details.
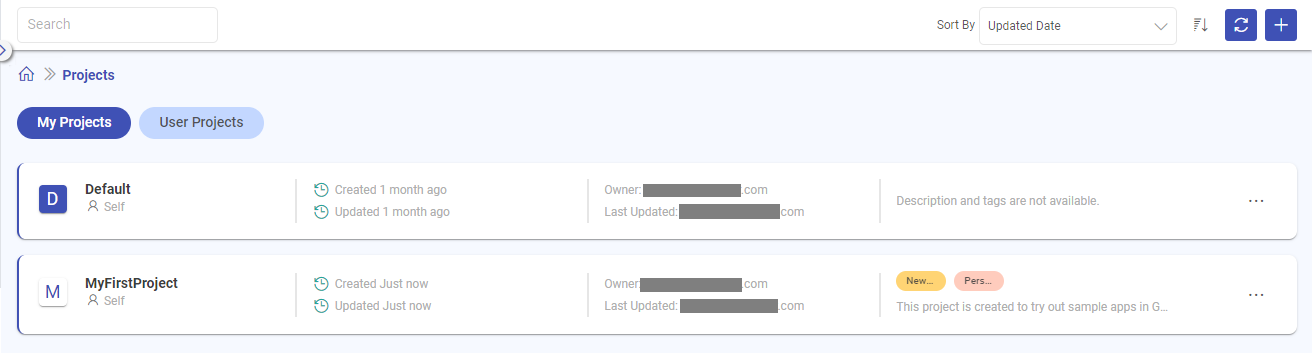
The created project will get listed on the Projects listing page.
Projects created by organization administrators can be shared with other users.
To know about projects sharing options, see Share Project →
To know about the options to associate compute environments with the projects, see Edit Project →
Users can share their Gathr Principal with the respective organization administrators to make use of the Role ARN based resources.
The registered compute environments and connections that are authenticated using Instance Profile (Role ARN) option requires the users’ Gathr Principal to be added in the respective resource’s policy document.
If you have any feedback on Gathr documentation, please email us!