Pipeline Listing Page
If you are a new user and haven’t yet created a pipeline, then the Pipeline page displays an introductory screen. Click the Create a Pipeline button at top right side of the screen.
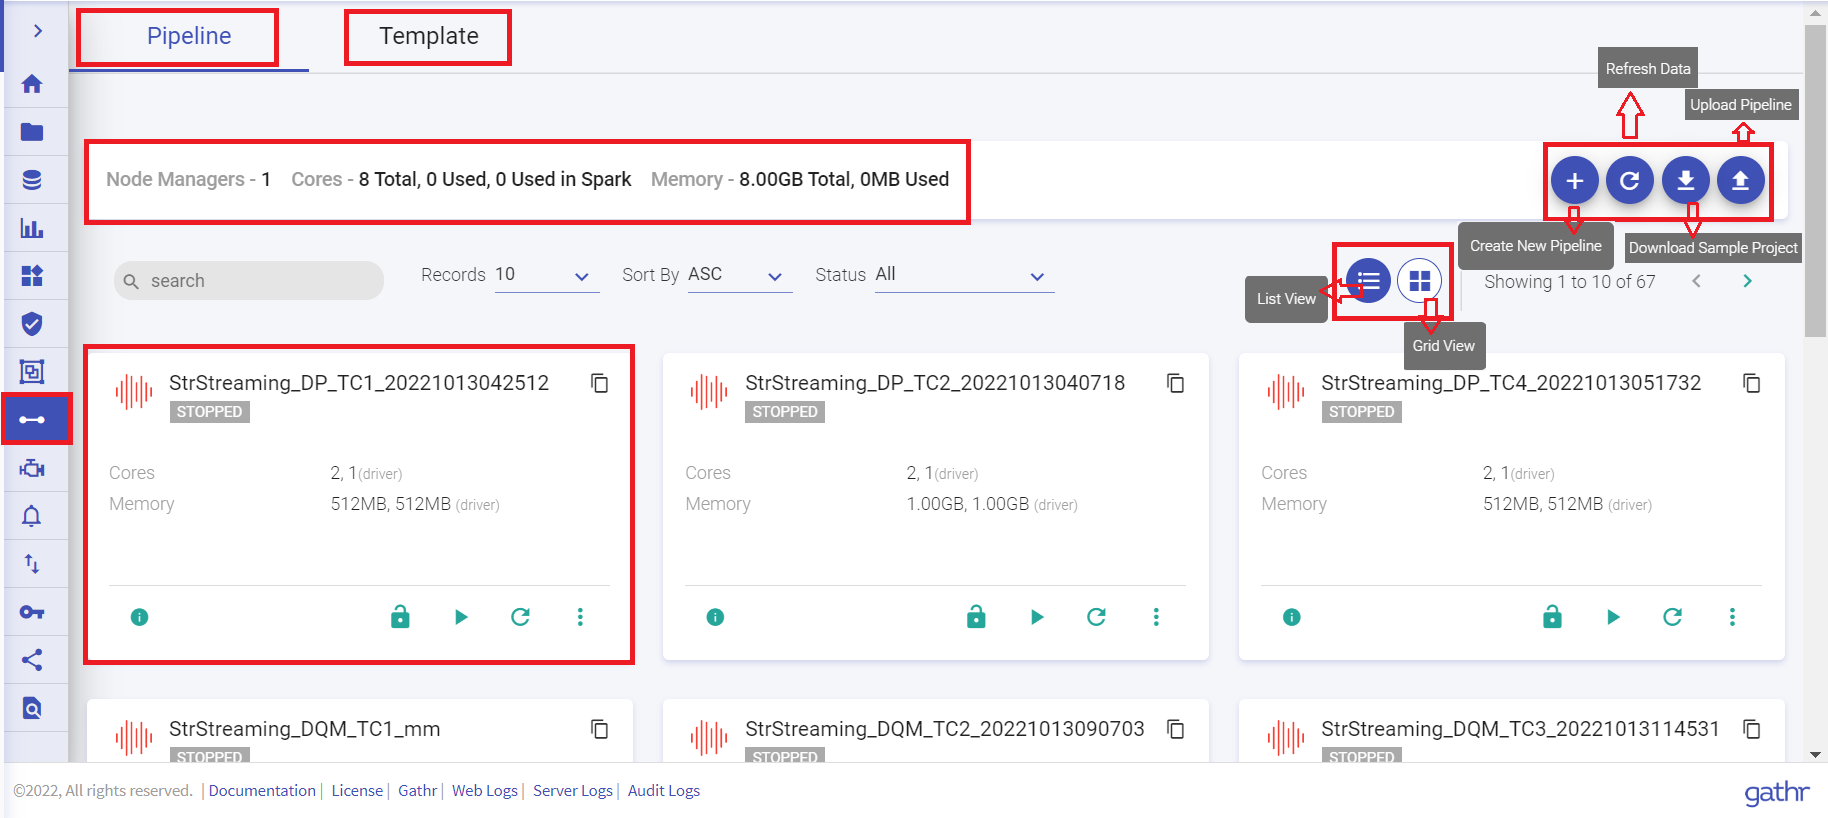
If you have already created pipelines, then the Pipeline listing page displays all the existing pipelines.
You can create a new pipeline, download sample project and upload a pipeline from your local system.
You can navigate to Templates listing page by clicking at the Template tab.
Template are the pipelines in which user can add variables and parameters. Instance(s) are created within the template once these value(s)/parameters are added. To know more, see Templates Introduction →
| Name | Description |
|---|---|
| Pipeline | All the data pipelines fall under this category. |
| Template | Template are the pipelines in which user can add variables and parameters. Instance(s) are created within the template once these value(s)/parameters are added. |
| Filter | Pipelines are filtered based on 1. Cloud Vendors: - All - Not Configured - Databricks - Amazon EMR 2. Status - All - Active - Stopped - Error 3. Cluster Status. (Explained below in detail) - All - Long Running Cluster - New Cluster There is a reset button to bring the settings to default. |
Actions for Pipelines | Create a new pipeline, integrate pipelines, audit the pipelines, clone, download a sample project, deploy on clusters and upload a pipeline from the same or different workspace. |
| Databricks | When a pipeline is deployed on Databricks. |
| Amazon EMR | When a pipeline is deployed on Amazon EMR. |
The Pipeline listing page will display all the batch and streaming data pipeline tiles. User can create a pipeline, download sample project and upload pipeline from options available at the top right of the listing page.
For AWS, the pipelines can be deployed on Databricks and EMR.
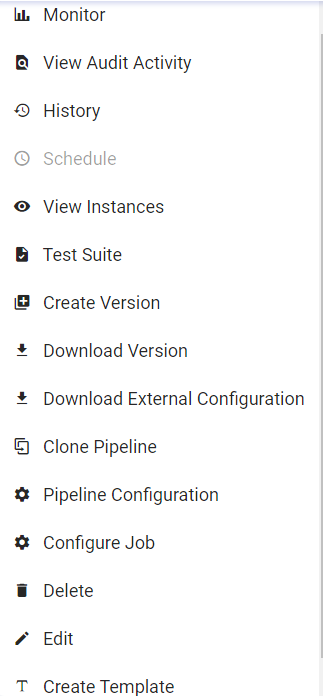
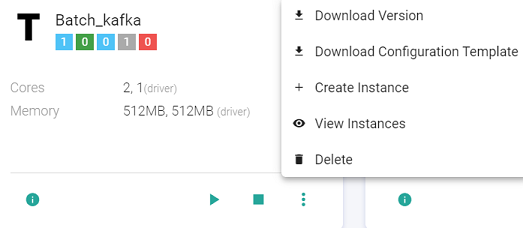
The below image shows actions that can be performed on the pipeline upon clicking the pipeline tile ellipses.
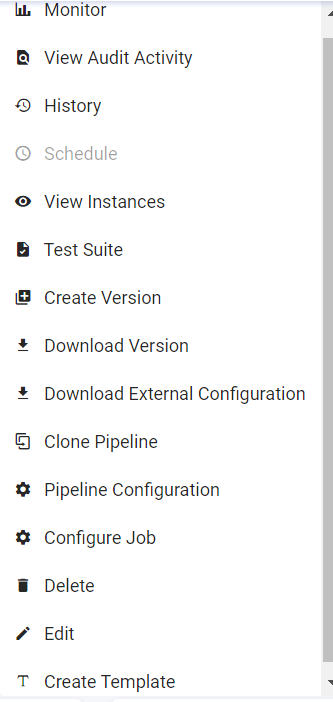
Within the Data Pipeline, user can perform the following actions:
Design, Import and Export real-time data pipeline.
Deploy pipelines on AWS Cloud platform.
Deploy pipelines on either Cloud vendor-Databricks or Amazon EMR.
Drag, drop and connect operators to create applications.
Create Datasets and reuse them in different pipelines.
Create Models from the analytics operators.
Monitor detailed metrics of each task and instance.
Run PMML-based scripts in real-time on every incoming message.
Explore real-time data using interactive charts and dashboards.
There could be a business scenario where the pipeline design remains the same for multiple pipelines, yet the configurations differ.
For an e.g. A user has 3 different Kafka topics containing similar data that needs to go through same kind of processing (Kafka –> Filter –> ExpressionEvaluator –> HDFS). Normally, a user would create two clones of the same pipeline and edit the configuration.
The easier way of doing this is now user can create a pipeline template that comprises of the pipeline structure and multiple instances which only differ in configuration and inherit the pipeline structure of the pipeline template.
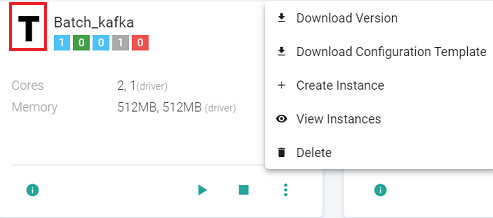
Download Configuration Template
The user can use the Download Configuration Template option to download a json file that contains all the component configurations used in a data pipeline. This will be used to create an instance.
Create Instance
The user will modify the downloaded json file using ‘Download Configuration Template’ option to apply configuration changes for his first instance. For eg. The user changes the topic name in the Kafka channel and saves the modified json file.
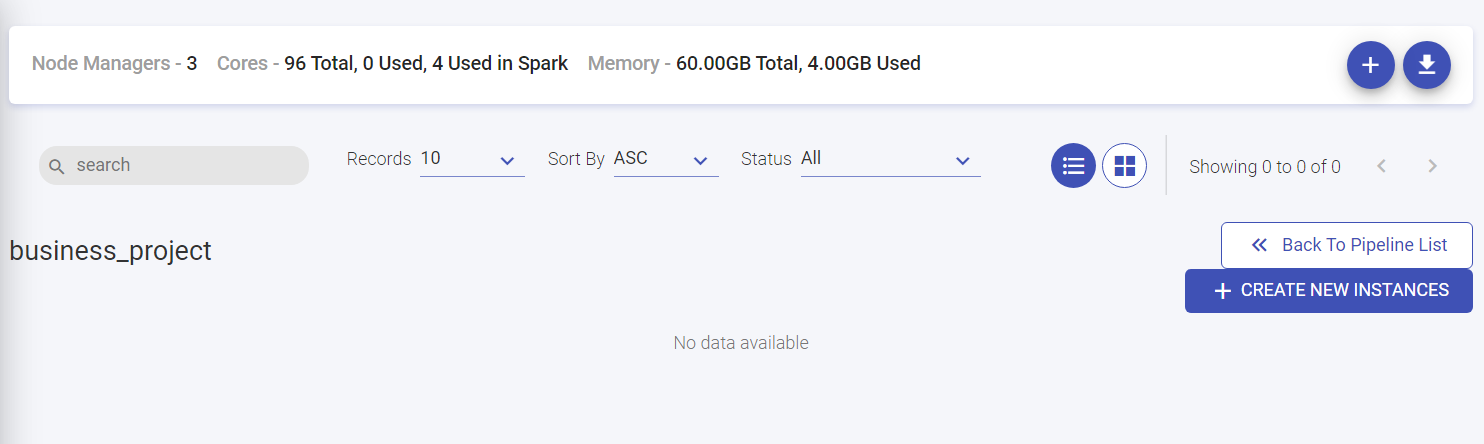
The user can create the first instance by clicking the ellipses of the pipeline tile and click View Instance.
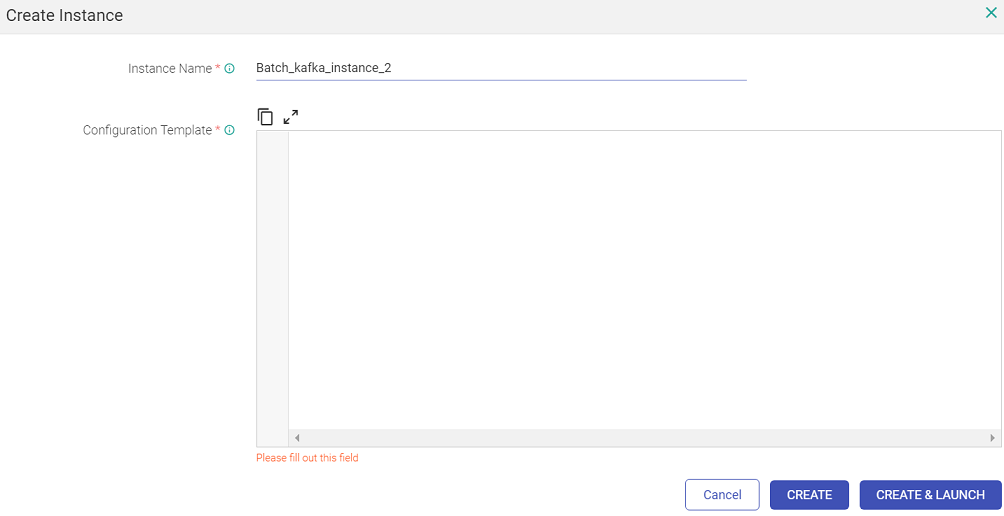
On clicking ‘View Instance’ a page opens where user can create an instance by providing instance name and provide configuration used for pipeline instance creation. Provide a name and paste the content of the modified json file that has the amended Kafka topic name.
Click on ‘CREATE’ button to create instance or optionally ‘CREATE & LAUNCH’ to create and launch the instance.
The user can create a template in the data pipeline listing page. Thus, a template can have multiple pipeline instances running using the same set of components and different configurations.
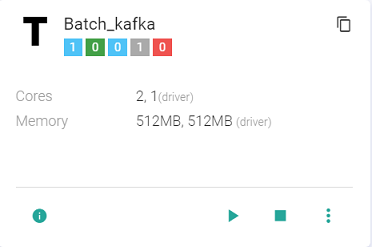
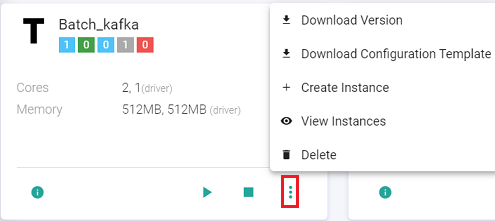
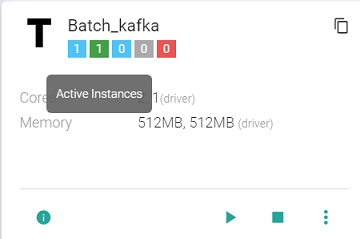
-T stands for Template.
-The Template tile shows following details: Total Instances, Active Instances, Starting Instances, Stopped Instances, Instances in Error.
The user can create further instances and view existing instances as well:
The user can delete the instance. The user cannot delete a template if instances exist. To delete a template, all instances should be deleted first.
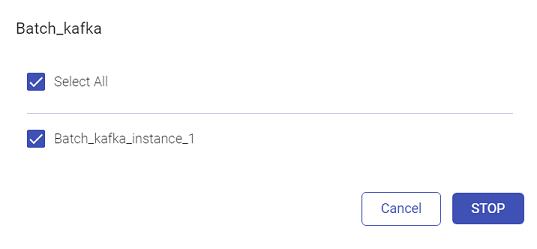
Start/Stop Template
The user can Start/Stop the template by clicking at the Start/Stop button available at the template. All the instances must be deleted to delete the template.

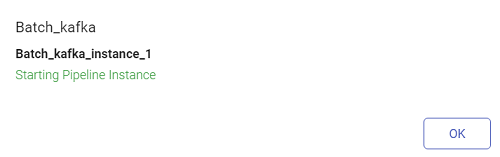
Once the user selects Start, the user will be required to select the instance(s):
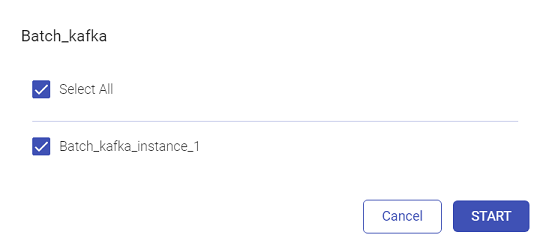
Click Start.
Likewise, to stop the instances, click Stop.
Configure Job
Upon clicking the ellipses of pipeline tile, you can configure job by clicking on the Configure Job option. To configure a job for IBM Spectrum Conductor, below options are provided:
| Name | Description |
|---|---|
| Select Cluster | Select IBM Conductor cluster for job configuration. |
| Instance Group Name | Select Instance Group to configure spark job. |
| Spark Master Url | Master URL to submit or view spark job. |
SPARK CONDUCTOR EGO PROPERTIES
IBM Conductor EGO Configuration
| Name | Description |
|---|---|
| Executor Maximum Slots | Maximum number of executor slots. Default value is 2. |
| Executor Idle Time | Specifies the duration (in seconds) for executor state to remain alive without any workload running on it. Default value is 60. |
| Maximum Slots | Specifies maximum number of slots that an application can get in master node. Default value is 2. |
| Slots Per Task | Specifies number of slots that are allocated to a task. Default value is 1. |
| GPU Max Slots | Specifes maximum number of slots that an application can get for GPU task in a master node. |
| Priority | Specifies the priority of driver and executor scheduling for spark instance group. Valid range is 1-10000. Default value is 5000. |
To add EGO Environment Variable, click the ADD ENVIRONMENT VARIABLE button.
Option to ADD CONFIGURATIONS is also available.
Example, any extra environment and spark job configuration attributes could be provided in these ( examples spark.ego.master.ui.retained.executor.num=500 or spark.ego.submit.file.replication=10 , Default value is the value of dfs.replication in Hadoop core-site.xml ) and Gathr manages these values while submitting job on IBM conductor Instance Group of selected cluster.
Click CONFIRM once details are provided in the Configure Job window.
If you have any feedback on Gathr documentation, please email us!