Create Template
In the data pipeline listing page, user can create a template by clicking at the Template tab.
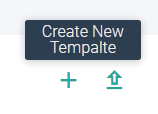
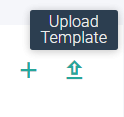
In the template listing page, click the +icon to Create New Template. User can also upload a template by clicking at the Upload Template icon available on the template listing page.
The icon to Create New Template is shown below:
The icon to Upload Template is shown below:
Steps to Create Template
To create a template, user will have to create/use an existing configured data pipeline.
On the canvas, choose the preferred data source from within the Components tab available at the top right side of the canvas.
Configure the selected data source and add the preferred processor(s) to the create the pipeline.
Once the processor(s) in the pipeline are configured, emit the data in a preferred sink/emitter.
For more on pipeline creation, see Data Pipelines → and for Components configuration details refer to Data Sources, Processors and Emitters.
Once all the components are configured, then the user can add parameter(s) to create a template.
Under the Parameters tab, click +Add Parameter.
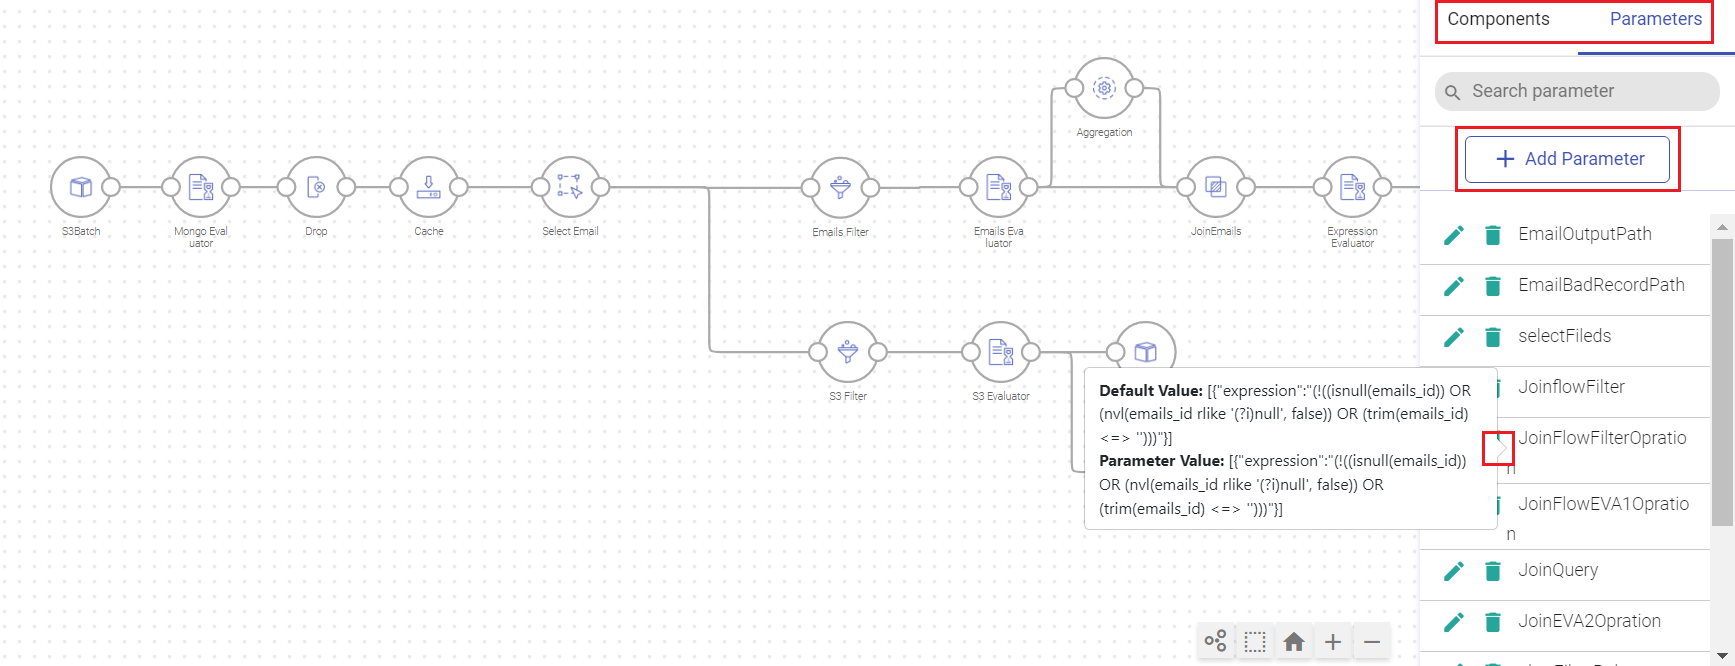
Create the parameter by providing the below fields:
| Field | Description |
|---|---|
| Name | Provide a name to create the new parameter. |
| Value | Provide the parameter value. To create parameter, ensure that the value to be provided here is same as provided in the configuration of the existing pipeline in order to create a template. |
| Default Value | Provide the default value for the new parameter. |
Click Create to complete the parameter creation. Once the parameter is created, it can be used in configured components.
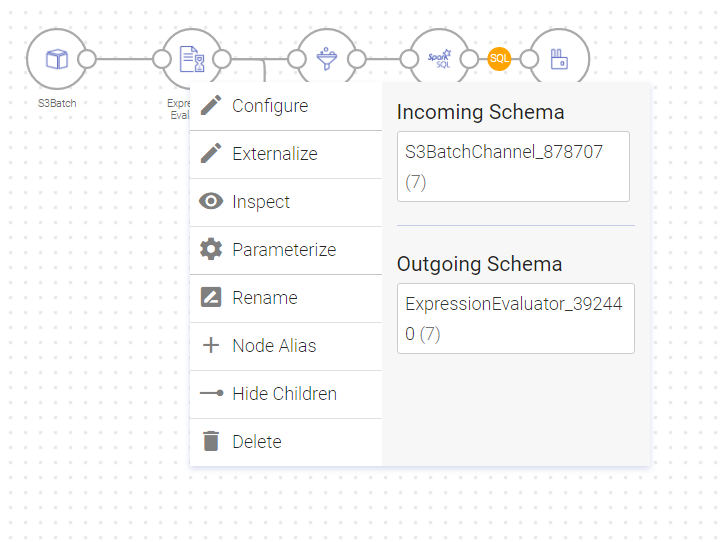
Right-click the component and select the Parameterize option. In the parameterize table, select the variable from the drop-down option available under the parameterize column of the table.
Validate the applied parameter. The configuration value and the parameter value provided in the parameterize column must be same. Click Apply to confirm the changes.
Once the parameterization is done, click Save to save the Template.
Actions on Template
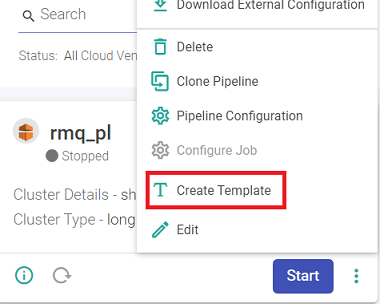
Once the template is created, user can perform various actions by clicking the ellipses of the template tile as explained below:
| Field | Description |
|---|---|
| Edit | Click this option to edit the template. |
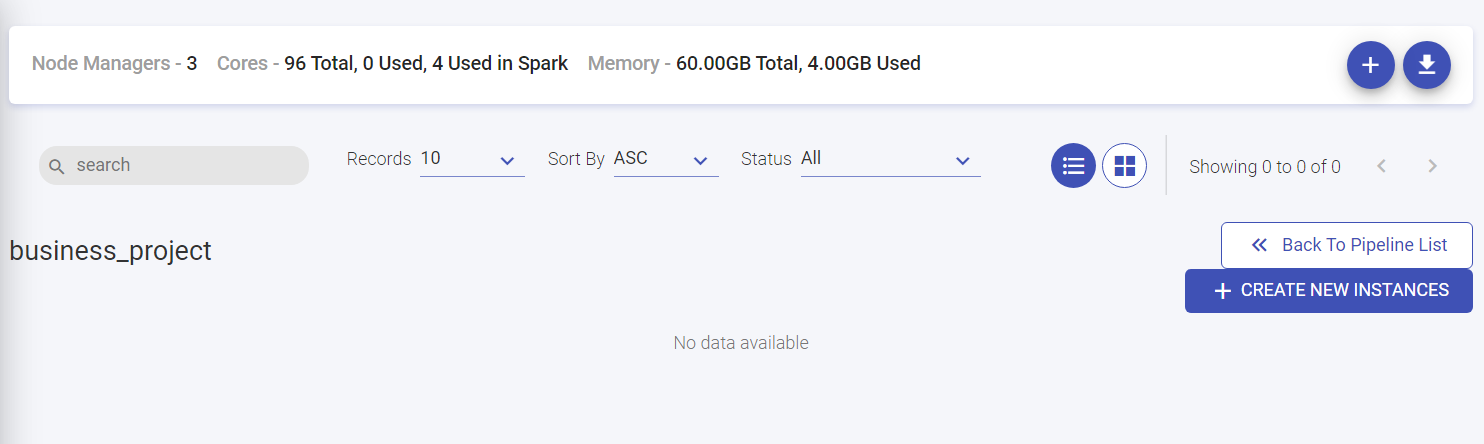
| View Instance | Click this option to view all the instance(s) that are created within the template. User can create or upload an instance from the Instance(s) listing page. Enter the instance listing page by clicking the View Instance option available upon clicking the ellipses of the template tile. Click Create New Instance. Similarly, option to upload an instance is available. |
Create Instance: Click this option to create an instance within the template. Provide the below details for instance creation:
| Name | Provide a Unique name of the instance to be create. The template name will be prefixed before the instance name. |
| Parameter Details | Provide value(s) of the parameter for which the instance has to be created. Note: Under the Component Using column, the variables used in the listed components are mentioned. Click Create to create the instance. |
The other actions available on the template tile are given below:
| Download | Click this option to download the template. |
| Delete | Click this option to delete the template. |
Actions on Instance
Once the instance is created, user can perform various actions by clicking the ellipses of the instance tile as explained below:
| Field | Description |
|---|---|
| Edit | Click this option to edit the instance. |
| Configure Job | Click this option to configure job. It is similar to configure job in the cloud environment. |
| Inspect | Click this option to inspect the instance. The data source(s) with configuration details will be listed which can be updated as per requirement. |
| Download | Click this option to download/export the instance. |
| Delete | Click this option to delete the instance. |
| Schedule | Click this option to schedule the instance. |
| Monitor | Click this option to monitor the instance. |
| Run | Click this option to run the instance. |
Externalize
User has the option to configure the component(s) externally and parameterize the values set during configuration.
The configuration details are mentioned below:
| Field | Description |
|---|---|
| Configure | Option to configure the component. |
Externalize
The user can add configuration and schema to the components of the pipelines externally. The External configurations and schema will be fetched from a service deployed externally and these pipelines will be able to inspect and run on the bases of external configurations and schema.
The option to External Configuration are explained below:
| External Configuration | Select the check box for enabling External Configuration option. |
| Store | The external configuration of components can be done using the below types of store: - File System - Database (RDS) - S3 The user can add external configuration to the components of the pipelines. Externally configured pipelines will be able to inspect and run on the bases of the external configurations. The External configurations will be fetched from a service, deployed externally. |
| Keys | Select the relevant key of the selected store from the drop-down list. This is a dynamic field as the user can create a customized key as per requirement. The keys contain the configuration and schema of the component. |
| External Schema | Select the check box for enabling External Schema option. |
| Store | The external schema of components can be configured using the below types of store: - File System - Database (RDS) - S3 The user can add external schema to the components of the pipelines. The External schema will be fetched from a service, deployed externally. |
| Keys | Select the relevant key of the selected store from the drop-down list. This is a dynamic field as the user can create a customized key as per requirement. The keys contain the configuration and schema of the component. |
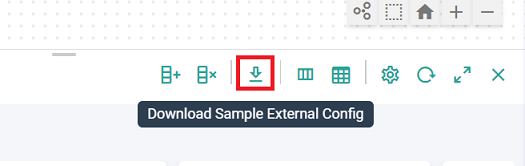
The downloaded file can be updated as per the user’s requirement and the updated file can be further placed as external service. For more details on how to configure external service, read the README file available on the external service.
Other options available on the component upon right-clicking it are explained below:
| Inspect | Option to inspect the component. |
| Parameterize | The Parameterize option can be used to change the value(s) with new parameter(s). Provide the parameterize value. User can Validate/Reset the value. |
| Rename | Option to rename the component. |
| Node Alias | An alias can be assigned to a template component. If a pipeline uses the template with this component as a connecting point, its alias will be preferred over the component name. If this template component is deleted, an option will be available while saving the template to substitute the alias point with a different template component, which will be considered as a new connecting point in the pipeline. This feature is further explained in Template as Component in a pipeline below. For details, refer to Node Alias. |
| Delete | Option to delete the component from the pipeline. |
If you have any feedback on Gathr documentation, please email us!