Gathr Enterprise/Medium/Small - Deployment on GCP
Gathr can be deployed on the Google Cloud Platform (GCP) to leverage the capabilities of Dataproc clusters for efficient and scalable data processing.
Create, manage and use Google Cloud Dataproc clusters from Gathr.
Run Gathr’s ETL, ELT, CDC and Ingestion jobs on Dataproc clusters.
Gathr offers below subscriptions tailored to meet your unique needs:
Enterprise: Get unlimited core usage for seamlessly running pipelines on your Dataproc cluster. Ideal for environments with a multitude of diverse use cases, this subscription offers unparalleled flexibility and scalability to handle production-level workloads efficiently.
Medium: Get 48 cores designed for running pipelines on your Dataproc cluster. Ideal for environments handling 6-10 concurrent production use cases. Experience optimal performance tailored to meet your specific requirements effortlessly.
Small: Get 16 cores dedicated to running pipelines on your Dataproc cluster. Tailored for testing and evaluation purposes, or for running small production use case, this plan allows you to explore the product’s capabilities in a controlled environment, ensuring a smooth transition to larger-scale implementations.
Steps to Launch Gathr on Google Cloud Console
Deploy Gathr (Enterprise/Medium/Small) on GCP following the step-by-step instructions.
Login to the Google Cloud Console portal using your Google account credentials.
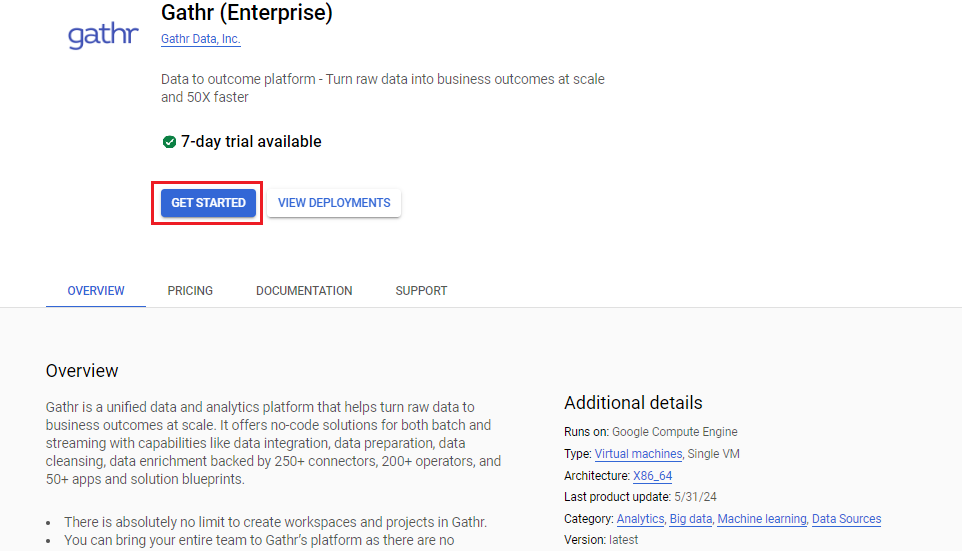
Search for “Gathr (Enterprise)” in the search bar of the marketplace console and select Gathr (Enterprise) from the listed items.
Click on Get Started button to proceed further to accept the terms and agreements of GCP Marketplace and Gathr Data, Inc.
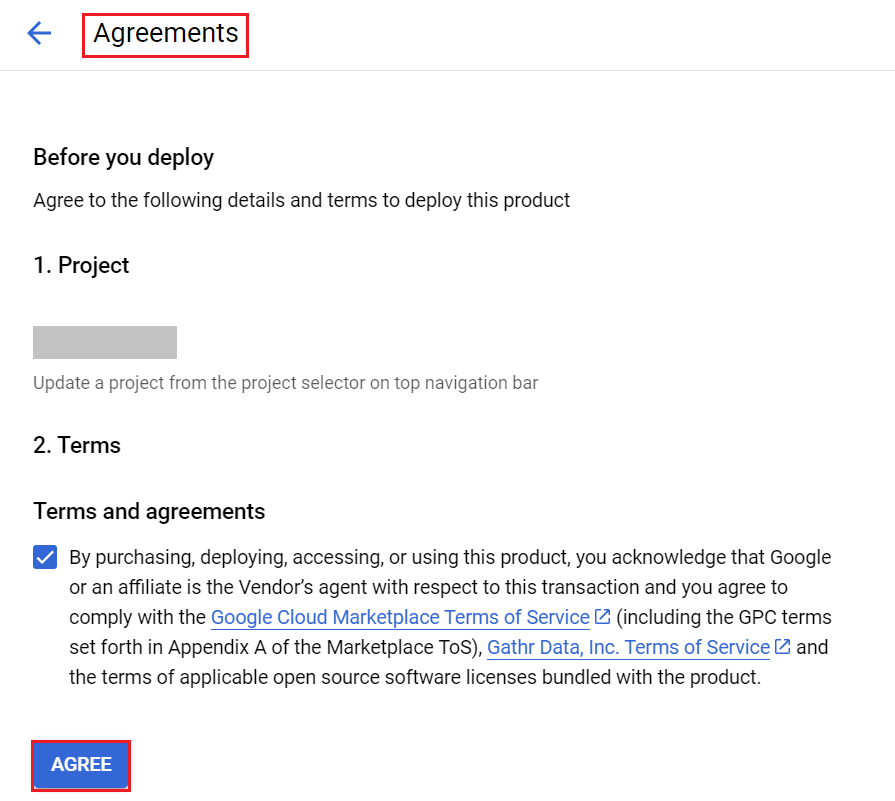
- You will be redirected to the Agreements page.
Accept the agreement, click Agree and then Deploy to proceed further.
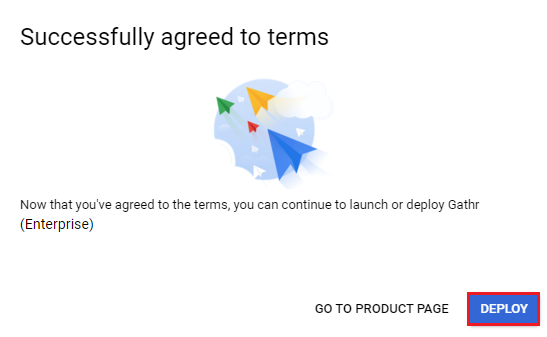
You will be redirected to the Gathr (Enterprise) deployment page.
Gathr (Enterprise) Deployment
- Under the Gathr (Enterprise) Deployment page, provide the below fields.
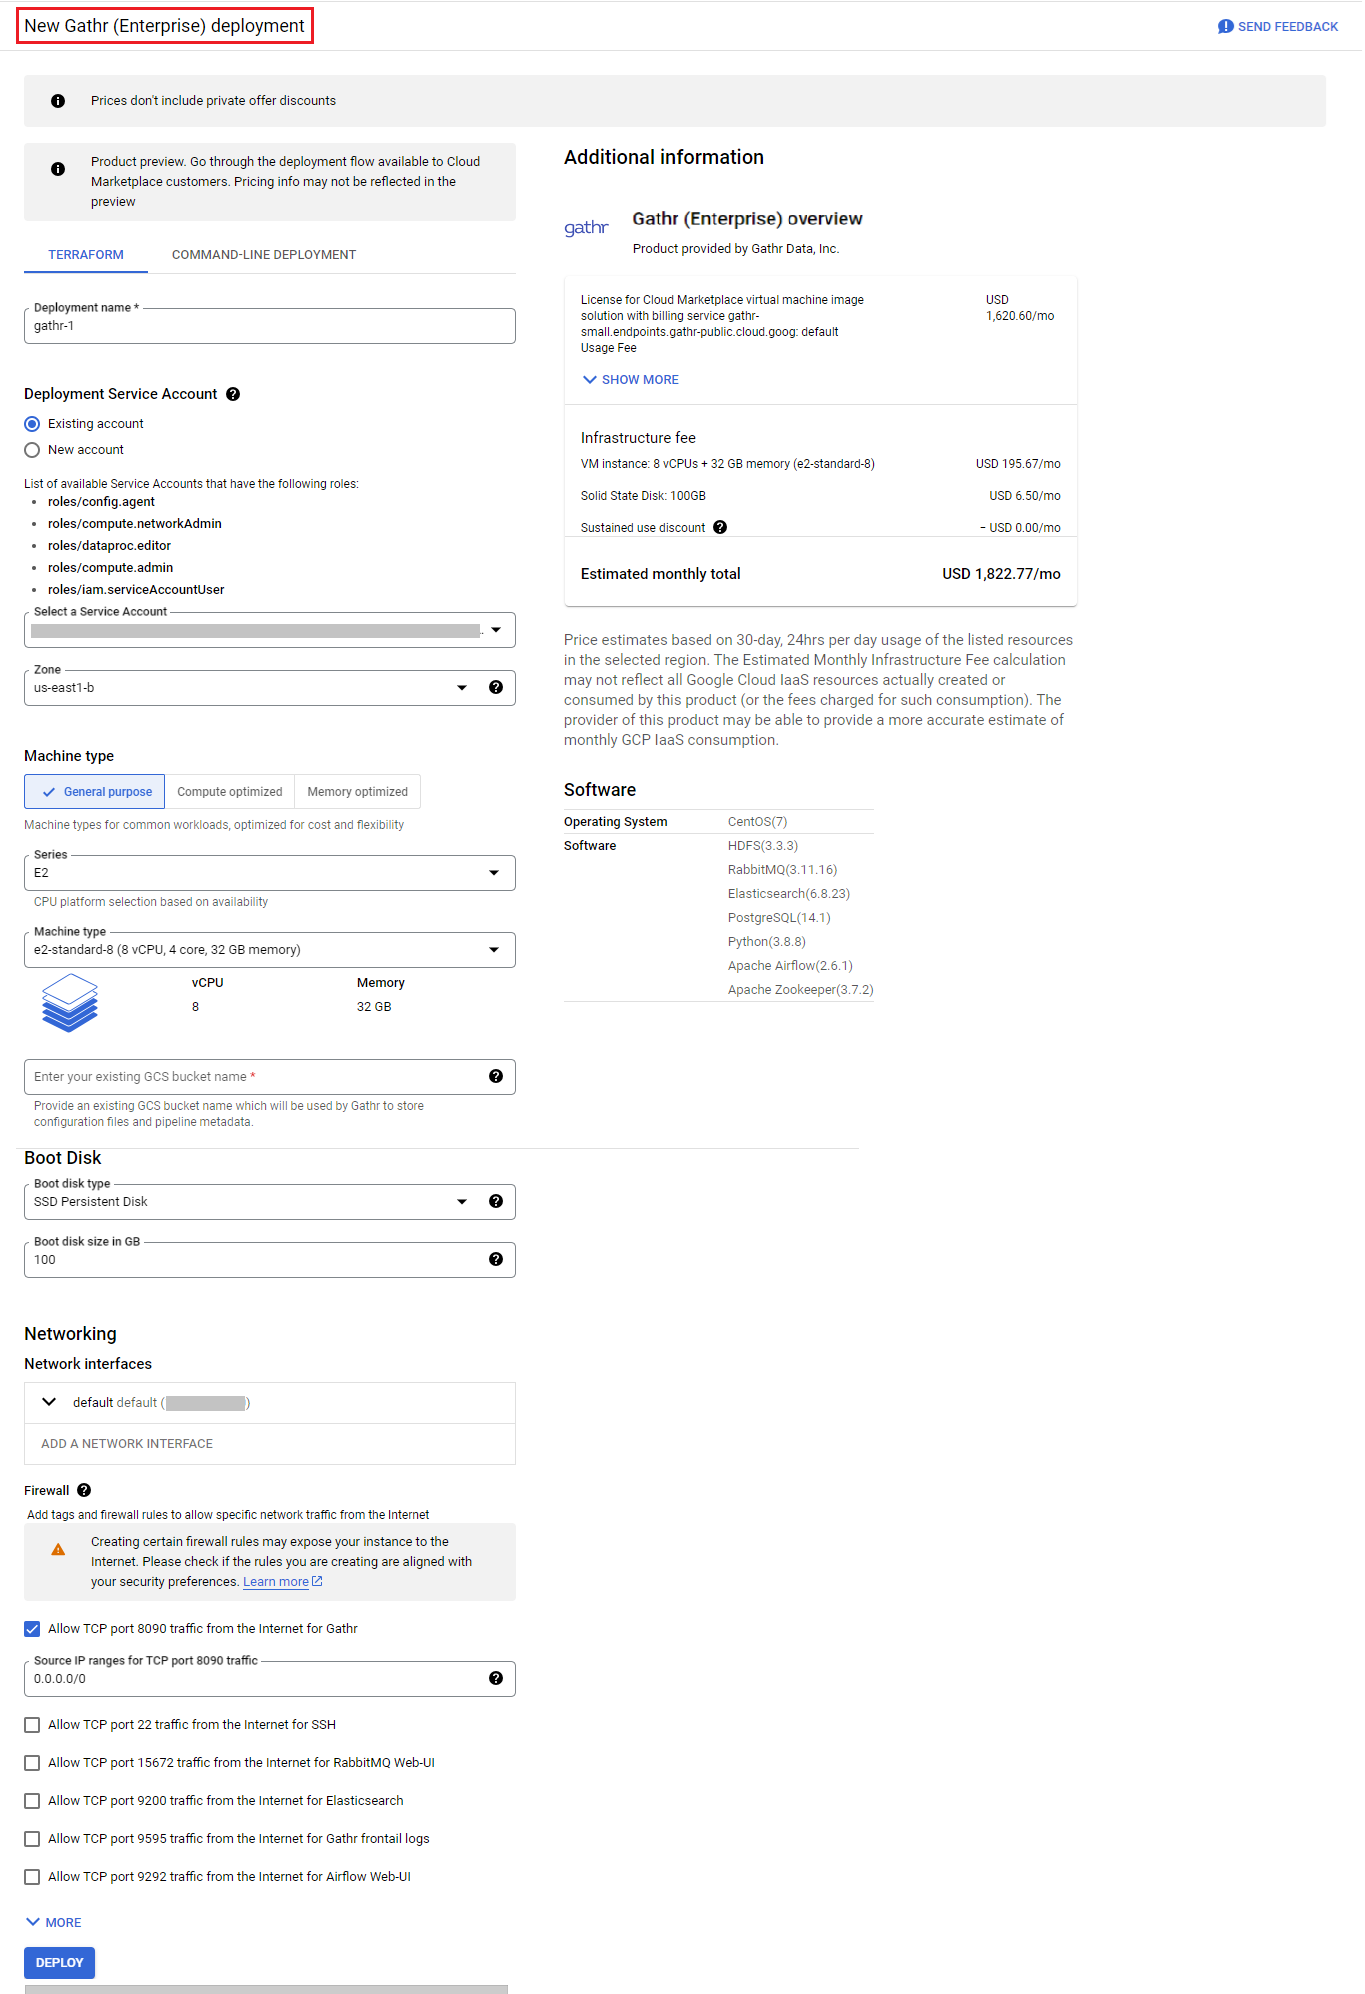
Deployment name
Provide the product deployment name for metered services.
Deployment Service Account
Select an existing service account or create a new one. The roles given below are required in a service account being used to deploy Gathr on GCP:
roles/config.agent
roles/compute.networkAdmin
roles/dataproc.editor
roles/compute.admin
roles/iam.serviceAccountUser
If an existing service account already has these roles, it will be listed and can be selected for deployment.
If there are no service accounts with these roles, choose the option to create a new service account for deployment.
Zone
Select the zone in which the services need to be deployed.
Example: us-east1-b, us-east4-a.
The zone determines what computing resources are available and where your data is stored and used.
Machine type
The options available are General Purpose, Compute Optimized and Memory Optimized based on different licenses for Cloud Marketplace virtual machine image solution with billing services.
Upon selecting General Purpose option under Machine Type (which is used for common workloads, optimized for cost and flexibility) provide the details as shown below.
Series
CPU platform selection based on availability. Example: Second Generation: E2, N2 or Third Generation C3.
Machine type
Select Machine type. Option to select Standard types example: e2-standard 8 (8 vCPU 4 cores 32 GB memory) or Custom vCPU cores and memory are available.
GCS bucket Name
Provide an existing GCS bucket name where Gathr’s configuration and pipeline metadata is to be stored.
Provide the Boot Disk details:
Boot disk type
Select the boot disk type. Available options are: Balanced Persistent Disk, Extreme Persistent Disk, SSD Persistent Disk and Standard Persistent Disk. For details, click here.
Boot disk size in GB
Provide the boot disk size in GB. For details, click here.
Under Networking > Networking Interface provide the below details.
Network
The network determines which network traffic will the instance access.
Subnetwork
Assigns the IPv4 address from the sub network’s range. Instances in different sub-networks can communicate with each other using their internal IP’s as long as they belong to the same network.
External IP
An external IP address associated with this instance. Selecting None will result in the instance having no external internet access.
Option to add a network interface is available based on the available number of network interface.
Firewall
By default, all incoming traffic from outside the network is blocked except the 8090 port for Gathr. You can modify the source IP range to enable access only from specified IP range.
Example: You can specify IP range as shown below:
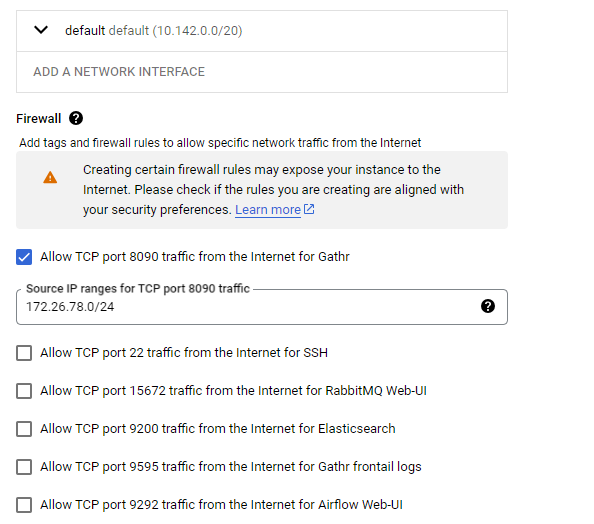
Select the type of network traffic you want to allow. Add tags and firewall rules to allow specific network traffic from the Internet. For example: Allow HTTP traffic from the Internet or Allow TCP port 22 traffic from the Internet etc. For details on VPC Firewall rules, click here.
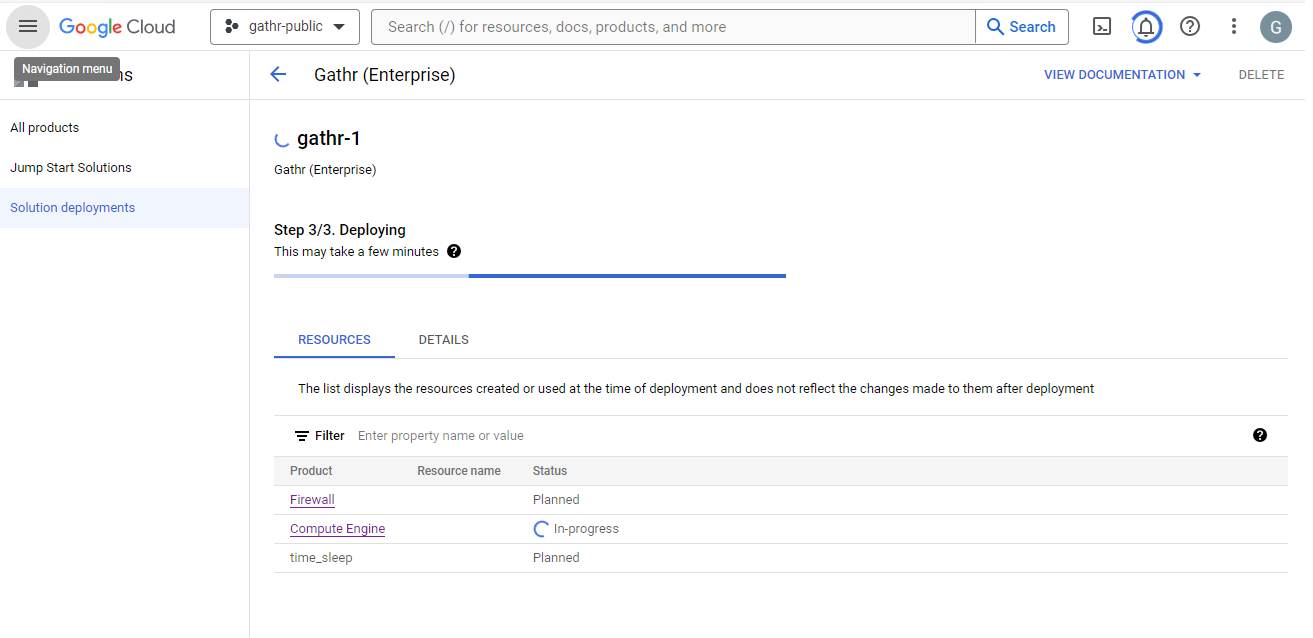
- Once the required details are provided at Gathr (Enterprise) Deployment page, click DEPLOY button.
The deployment process will take a couple of minutes to complete. Once done, you can get started with Gathr (Enterprise).
Once the Deployment is done, the Details tab will show deployment information:
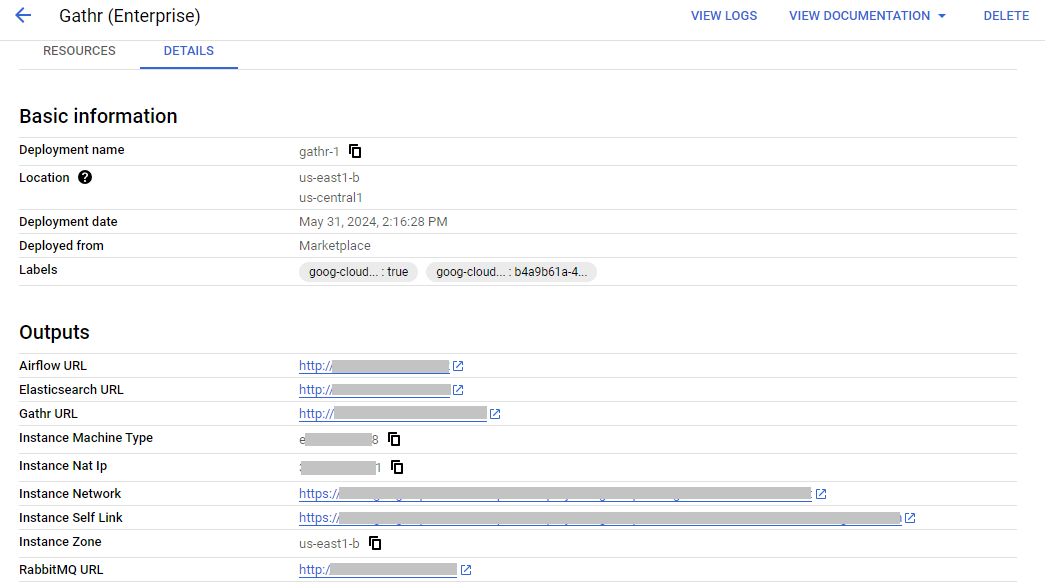
- Click on Gathr URL to start Gathr onboarding process.
Gathr Onboarding Steps
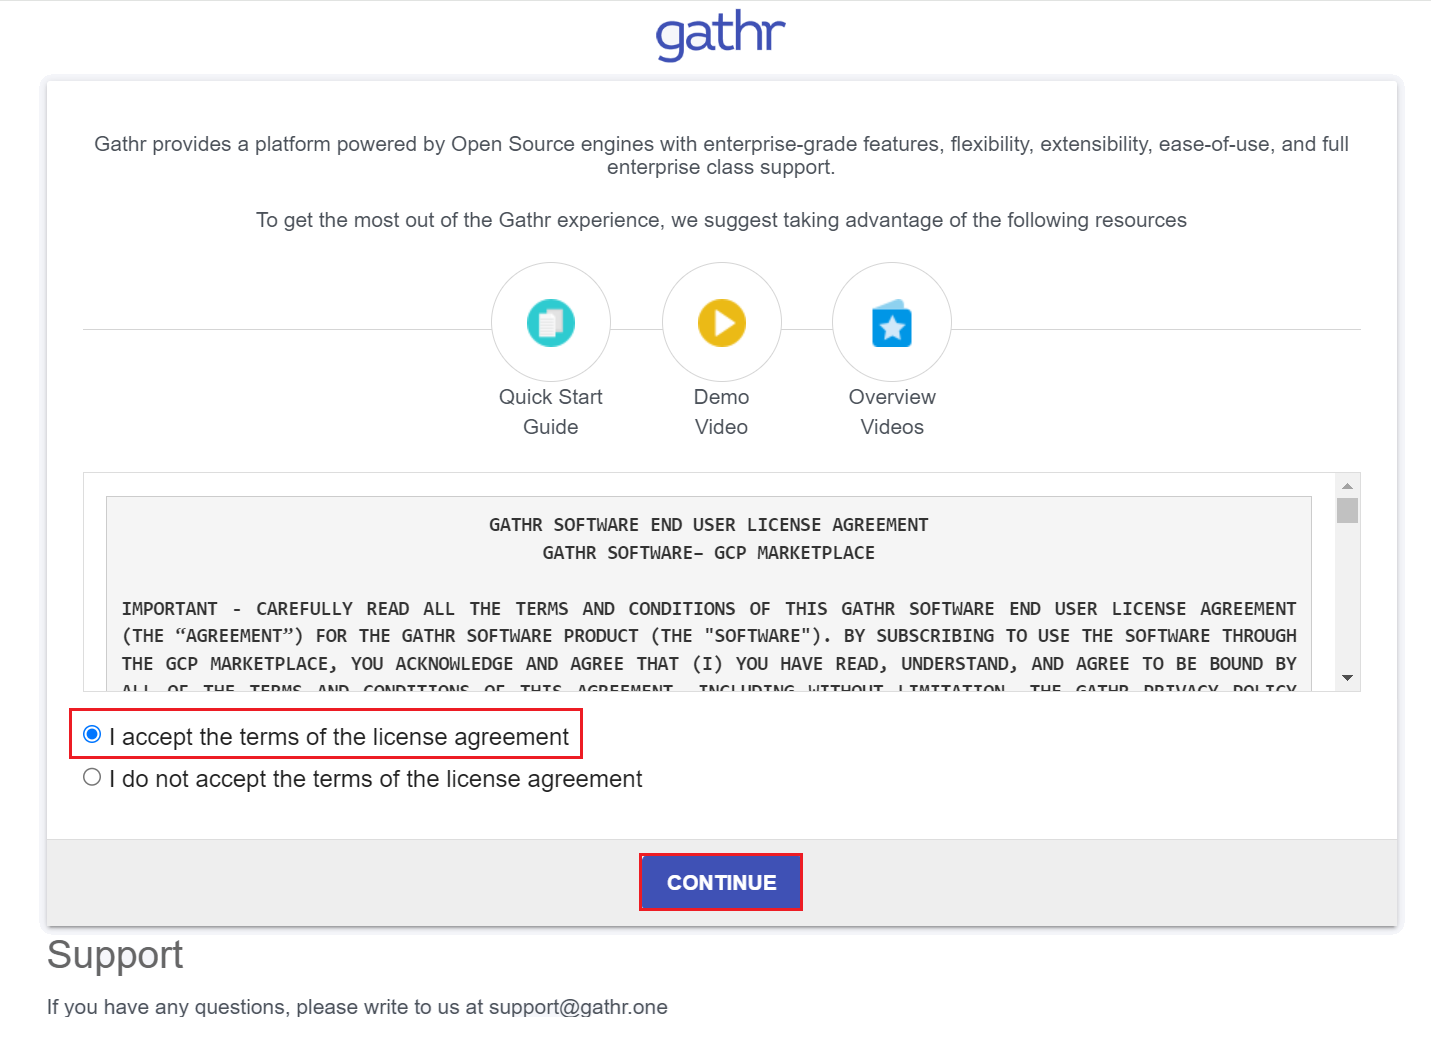
- You will be redirected to Gathr Software End User License Agreement.
Accept the terms of license agreement and click CONTINUE.
- On the next page you will see the links to Quick Start Guide, Demo Video and Overview Videos. Click the START HERE button to proceed further.

- Sign-in using default Superuser credentials i.e., Username: superuser and Password: superuser
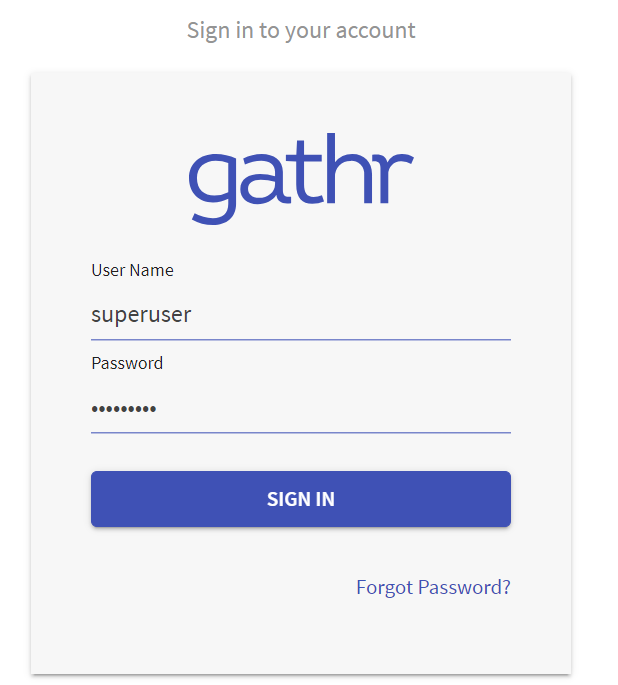
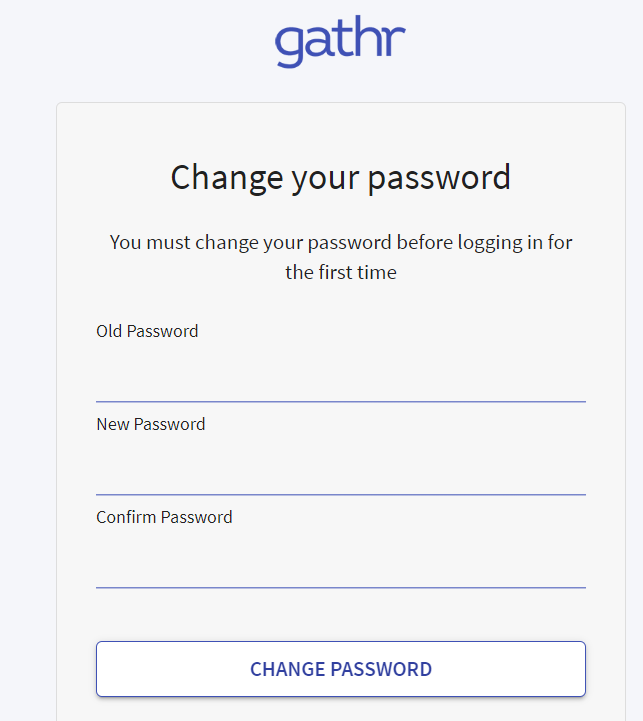
- At first sign-in you will be required to change the password.
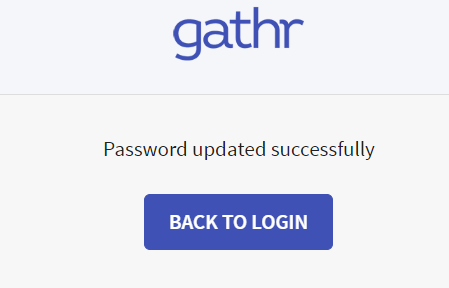
- Once you change the password, click Back to Login button to login using the changed password.
You will now successfully land at the Gathr UI dashboard.
From here, you can further see details of Create Workspace for GCP in Gathr →, Manage Connections →, Manage Configuration →, Create Project →, Manage Users and Roles →, Create GCP Cluster →, Create Pipeline →, Manage Pipeline →.
If you have any feedback on Gathr documentation, please email us!