Setup Gathr through AWS Marketplace - Automated Deployment
Introduction
Gathr product can be obtained and easily installed through AWS Marketplace. This topic guides you through the process of subscribing and installing Gathr on AWS using Marketplace.
Prerequisites
These prerequisites are for deploying Gathr from AWS Marketplace in a VPC.
| Item | Definition |
|---|---|
| VPC and Subnet ID | Gathr will require a VPC and a Private Subnet (and optional Public Subnet) to launch Gathr Webstudio on an EC2 instance. For Databrick: Appropriate security group needs to be setup to ensure communication between Gathr Webstudio and Databricks cluster nodes. Note: In case of Private subnet NAT gateway will be required. To know about how to create a new VPC and Subnets you can follow the AWS link given below: VPC with public and private subnets (NAT) |
| S3 Bucket | A pre-existing S3 bucket should be there in the Gathr deployment region. Gathr will use it for metadata storage and retrieval. |
| Existing SSH Access Key Pair (Optional) | This will only be required in case you need to access Gathr Webstudio using SSH client. |
Make sure that the key-pair tag 'for-use-with-amazon-emr-managed-policies=true' is attached to the VPC, Subnets, and Security Groups.
This tag is required to launch EMR clusters with EMR V2 IAM Roles.
Additionally, if any of the following security groups exist in your VPC, add the same key-pair tag 'for-use-with-amazon-emr-managed-policies=true' in each security group.
- ElasticMapReduce-master
- ElasticMapReduce-Master-Private
- ElasticMapReduce-ServiceAccess
- ElasticMapReduce-slave
- ElasticMapReduce-Slave-Private
Subscribing to Gathr (Metered) - All-in-one data pipeline platform
Log in to AWS Marketplace Management Portal with a user having access to subscribe products from AWS marketplace. If you do not have an AWS account, click Create a new AWS account and log in after creating the account.
In the AWS Marketplace, search for Gathr (Metered) - All-in-one data pipeline platform.
Click on the product Gathr (Metered) - All-in-one data pipeline platform. You will be redirected to the Product Overview Page. Once you have viewed the product details, click on Continue to Subscribe button.
You will be redirected to Subscribe to this software page, where details about License options and, Terms and Conditions are mentioned. Once you have reviewed the page, click on Continue to Configuration.
Next page has product details, with configuration options, such as Fulfillment Option, Software Version and Region. By default, all three options are selected, you can change them as per your requirements. Click on Continue to Launch.
On the Launch this software Page, you can review the configuration options, and launch the configuration of the stack. Select the option, Launch Cloud Formation and click on Launch.
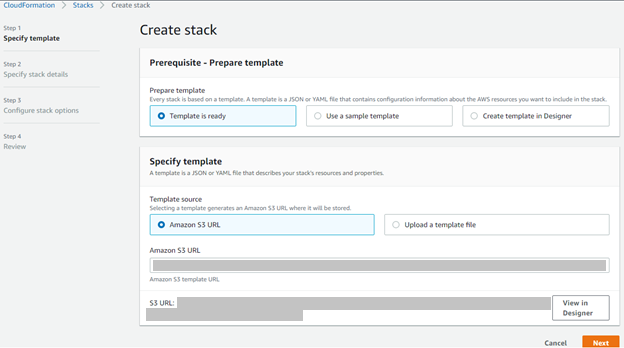
The Create stack page opens. This page allows you to create a Gathr Stack. Make sure you do not make any changes to the Amazon S3 URL. Click on Next.
Specify the stack details, and set up parameters.
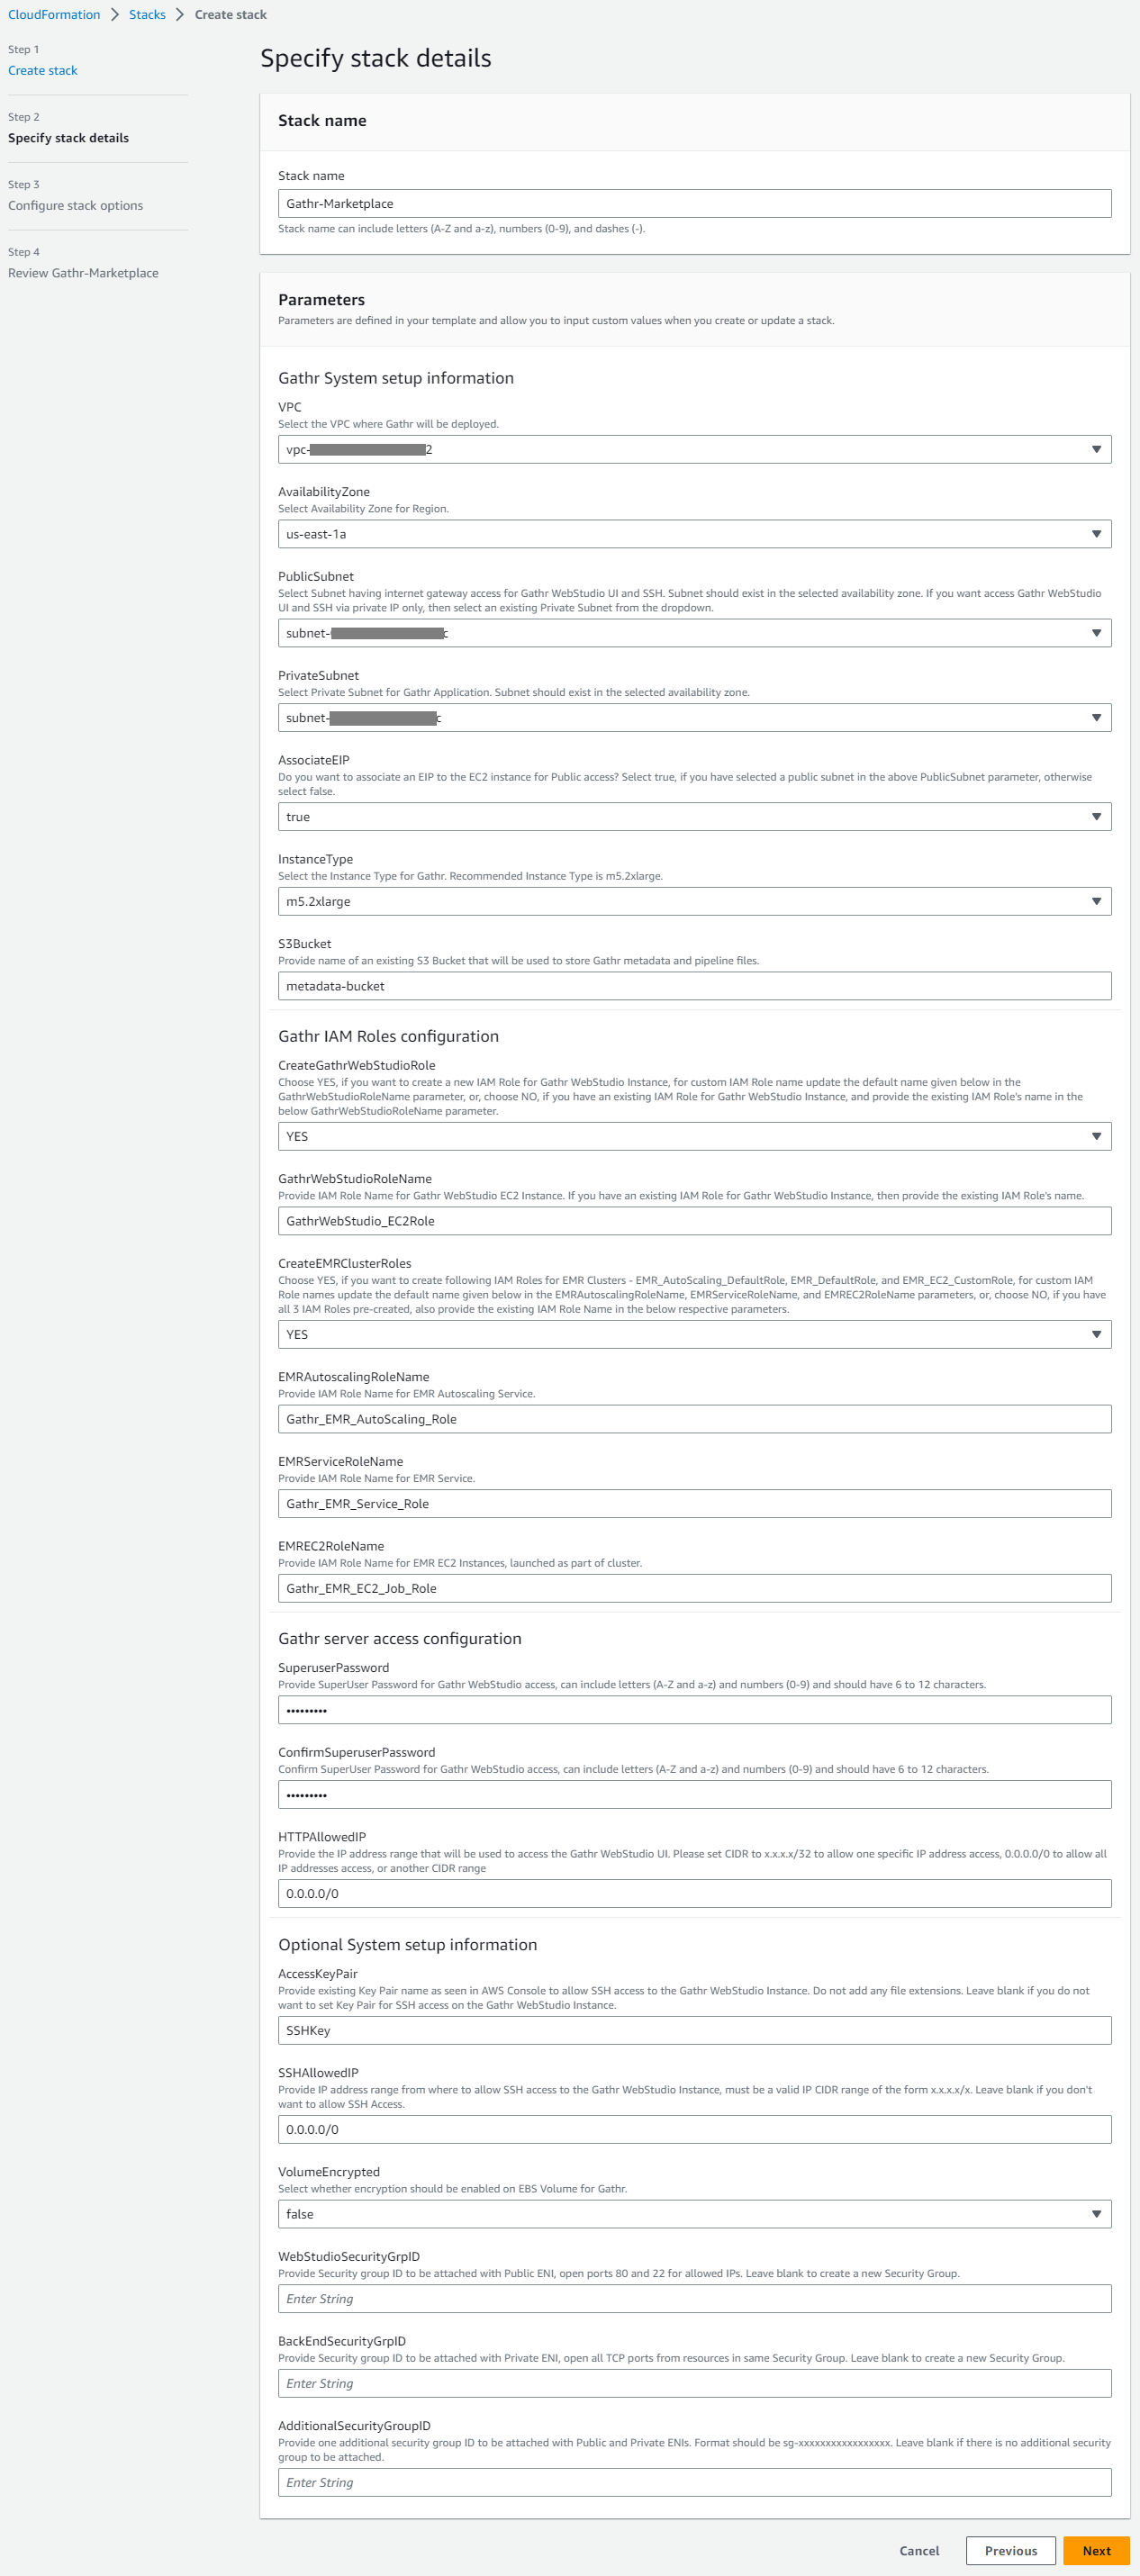
Input Param Description VPC Select the VPC where Gathr will be deployed. AvailabilityZone Select the Availability Zone for the subnets in the region. PublicSubnet Select Subnet having internet gateway access for Gathr WebStudio UI and SSH. Subnet should exist in the selected availability zone.
Note: If you want access Gathr WebStudio UI and SSH via private IP only, then select an existing Private Subnet from the dropdown.
PrivateSubnet Select Private Subnet for Gathr Application. Subnet should exist in the selected availability zone. AssociateEIP Specify this as true if you have selected a public subnet in the above PublicSubnet parameter and want to assign elastic IP to Gathr Webstudio instance. Else, update as false. InstanceType Select the AWS Instance Type for Gathr Webstudio. S3Bucket Provide name of an existing S3 Bucket that will be used to store Gathr metadata. CreateGathrWebStudioRole Choose YES (Recommended), to auto-create this role.
Choose No (For Advanced Users), to create a new IAM Role, or, if you have an existing IAM Role for Gathr WebStudio EC2 Instance.
GathrWebStudioRoleName Provide a name for the IAM role, or, the existing IAM Role Name if already created for Gathr WebStudio EC2 Instance. Gathr Webstudio Role IAM policy JSON
{
"Version": "2012-10-17",
"Statement": [{
		"Action": [
			"iam:GetPolicyVersion",
			"ec2:Describe*",
			"ec2:CreateTags",
			"s3:ListAllMyBuckets",
			"iam:GetPolicy",
			"iam:ListRoles",
			"elasticmapreduce:Get*",
			"elasticmapreduce:Remove*",
			"elasticmapreduce:Create*",
			"elasticmapreduce:Describe*",
			"elasticmapreduce:Set*",
			"elasticmapreduce:Stop*",
			"elasticmapreduce:Attach*",
			"elasticmapreduce:Detach*",
			"elasticmapreduce:List*",
			"elasticmapreduce:Terminate*",
			"elasticmapreduce:View*",
			"elasticmapreduce:Open*",
			"elasticmapreduce:Put*",
			"elasticmapreduce:Update*",
			"elasticmapreduce:Modify*",
			"elasticmapreduce:Add*",
			"elasticmapreduce:Start*",
			"elasticmapreduce:Delete*",
			"elasticmapreduce:Unlink*",
			"elasticmapreduce:Run*",
			"elasticmapreduce:Cancel*",
			"logs:CreateLogGroup",
			"logs:CreateLogStream",
			"logs:PutLogEvents",
			"logs:GetLogEvents",
			"logs:DescribeLogStreams",
			"logs:DescribeLogGroups",
			"cloudwatch:PutMetricData",
			"kms:ListKeyPolicies",
			"kms:ListRetirableGrants",
			"kms:ListAliases",
			"kms:ListGrants",
			"aws-marketplace:BatchMeterUsage",
			"aws-marketplace:ResolveCustomer",
			"aws-marketplace:RegisterUsage",
			"aws-marketplace:MeterUsage"
		],
		"Resource": "*",
		"Effect": "Allow"
	},
	{
		"Effect": "Allow",
		"Action": [
			"s3:Delete*",
			"s3:Create*",
			"s3:Get*",
			"s3:List*",
			"s3:Replicate*",
			"s3:Put*",
			"s3:Update*",
			"s3:Describe*",
			"s3:BypassGovernanceRetention",
			"s3:RestoreObject",
			"s3:ObjectOwnerOverrideToBucketOwner",
			"s3:AbortMultipartUpload"
		],
		"Resource": [
			"arn:aws:s3:::s3-bucket-name",
			"arn:aws:s3:::s3-bucket-name/*"
		]
	},
	{
		"Action": [
			"airflow:CreateWebLoginToken",
			"airflow:CreateCliToken",
			"airflow:GetEnvironment"
		],
		"Resource": "arn:aws:airflow:*:123456789000:environment/*",
		"Effect": "Allow"
	},
	{
		"Action": [
			"iam:PassRole",
			"iam:CreateServiceLinkedRole"
		],
		"Resource": [
			"arn:aws:iam::123456789000:role/EMRAutoscalingRoleName",
			"arn:aws:iam::123456789000:role/EMRServiceRoleName",
			"arn:aws:iam::123456789000:role/EMREC2RoleName",
			"arn:aws:iam::123456789000:role/aws-service-role/elasticmapreduce.amazonaws.com/AWSServiceRoleForEMRCleanup"
		],
		"Effect": "Allow"
	}
]
}
CreateEMRClusterRoles Choose YES, if you want to create IAM Roles for EMR Clusters.
Choose NO, if you have all the required IAM Roles pre-created, or, in case of Databricks only deployment.
EMRAutoscalingRoleName If
CreateEMRClusterRolesparameter is YES, then either keep the default name or specify a custom name for the new IAM role.If
CreateEMRClusterRolesparameter is NO, and the EMR role exists, then provide the IAM role’s name.The following policy will be attached to this role: EMR Autoscaling Policy
EMRServiceRoleName If
CreateEMRClusterRolesparameter is YES, then either keep the default name or specify a custom name for the new IAM role.If
CreateEMRClusterRolesparameter is NO, and the EMR role exists, then provide the IAM role’s name.The following policy will be attached to this role: EMR Service Policy
EMREC2RoleName If
CreateEMRClusterRolesparameter is YES, then either keep the default name or specify a custom name for the new IAM role.If
CreateEMRClusterRolesparameter is NO, and the EMR role exists, then provide the IAM role’s name.EMR EC2 Role IAM Policy JSON
{
"Version": "2012-10-17",
"Statement": [{
		"Action": [
			"ec2:Describe*",
			"elasticmapreduce:Describe*",
			"elasticmapreduce:ListBootstrapActions",
			"elasticmapreduce:ListClusters",
			"elasticmapreduce:ListInstanceGroups",
			"elasticmapreduce:ListInstances",
			"elasticmapreduce:ListSteps",
			"s3:Get*",
			"s3:List*"
		],
		"Resource": "*",
		"Effect": "Allow"
	},
	{
		"Effect": "Allow",
		"Action": [
			"s3:Delete*",
			"s3:Create*",
			"s3:List*",
			"s3:Get*",
			"s3:Replicate*",
			"s3:Put*",
			"s3:Update*",
			"s3:Describe*",
			"s3:BypassGovernanceRetention",
			"s3:RestoreObject",
			"s3:ObjectOwnerOverrideToBucketOwner",
			"s3:AbortMultipartUpload"
		],
		"Resource": [
			"arn:aws:s3:::s3-bucket-name",
			"arn:aws:s3:::s3-bucket-name/*"
		]
	}
]
}
SuperuserPassword Provide SuperUser Password for web login access, can include letters (A-Z and a-z) and numbers (0-9). The length of the password should be 6-12 characters. ConfirmSuperuserPassword Confirm SuperUser Password for web login access. HTTPAllowedIP Provide the IP address range that will be used to access the Gathr WebStudio UI. AccessKeyPair (Optional) Provide existing Key Pair name to allow SSH access to the Gathr WebStudio Instance.
Leave blank if you do not want to set Key Pair for SSH access on the Gathr WebStudio Instance.
SSHAllowedIP (Optional) Provide IP address range from where to allow SSH access to the Gathr WebStudio Instance, must be a valid IP CIDR range of the form x.x.x.x/x.
Leave blank if you don’t want to allow SSH Access.
VolumeEncrypted Select whether encryption should be enabled on EBS Volume for Gathr. WebStudioSecurityGrpID (Optional) Provide Security group ID to be attached with Public ENI, open ports 80 and 22 for allowed IPs.
Leave blank to create a new Security Group.
BackEndSecurityGrpID (Optional) Provide Security group ID to be attached with Private ENI, open all TCP ports from resources in same Security Group.
Leave blank to create a new Security Group.
AdditionalSecurityGroupID (Optional) Provide one additional security group ID to be attached with Public and Private ENIs. Format should be sg-xxxxxxxxxxxxxxxxx.
In case of Databricks deployment, specify the security group that governs the communication between Gathr Webstudio and Databricks cluster nodes.
After specifying the Stack details, configure the Stack Options. You can add Tags, which are Key-value pairs and up to 50 unique tags can be added. Permissions and Advance settings such as Stack Policy, Rollback configuration, Notification Options and more stack creation options are also a part of Stack details.
Once the stack configuration is complete, you can review the same in the review window, that displays all the parameters configured.
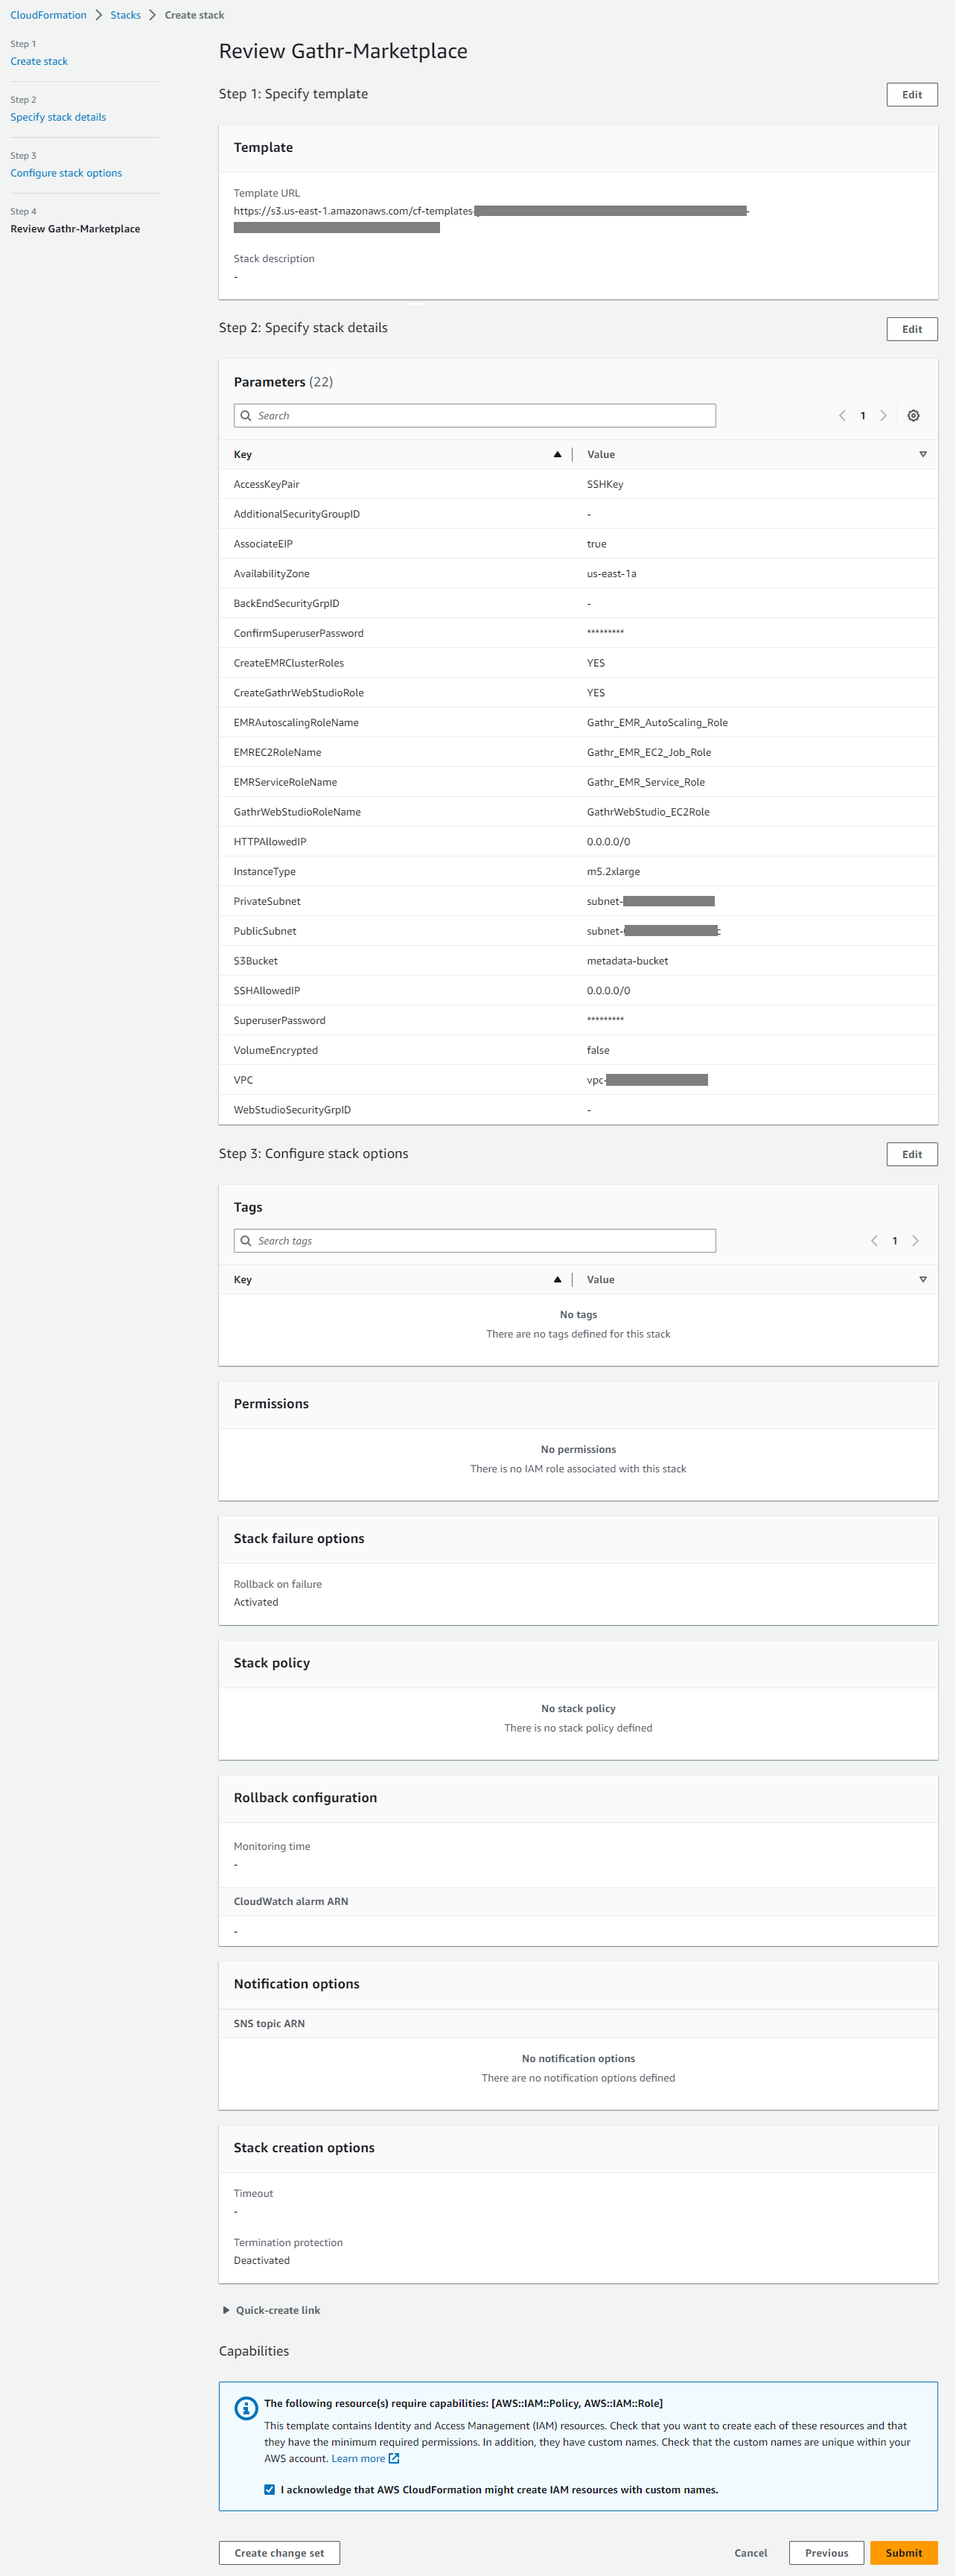
After all the properties are reviewed, you can acknowledge the message shown above and select Create Stack.
Once the process is complete, the Gathr URL is visible on the output of the cloud formation stack, as shown below:
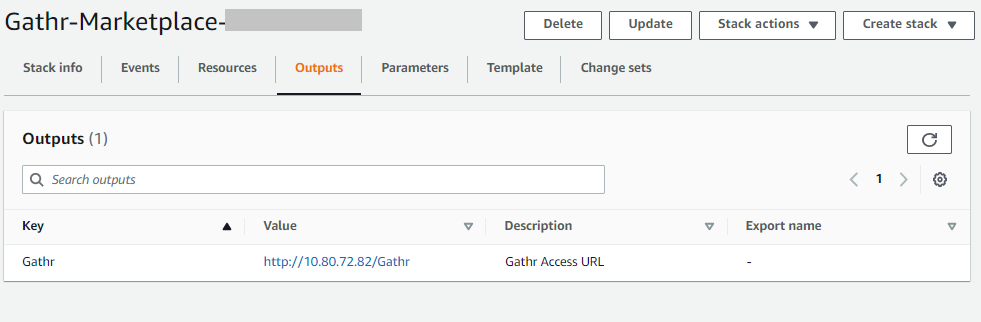
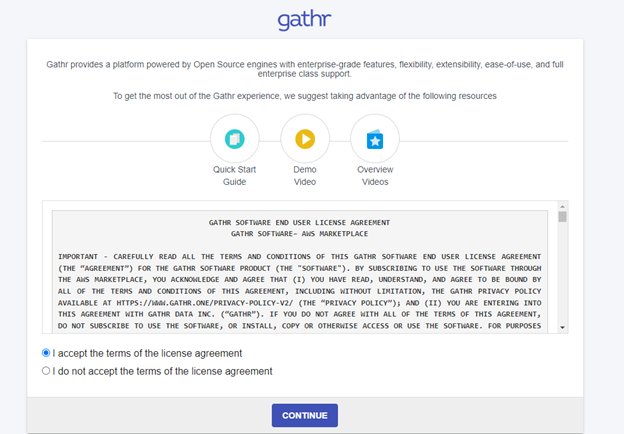
Once you click the Value (Gathr Page URL), you will be redirected to the EULA page of Gathr. Read and select the I Accept radio button.
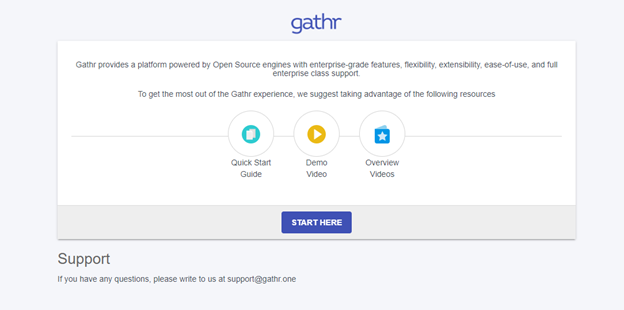
Click Start here option to proceed to the Sign in page.
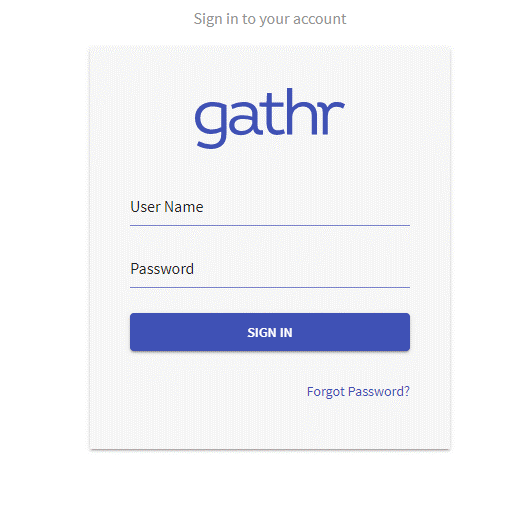
Enter the Superuser credentials that you had set while configuring the Server Access configuration. Click on Sign in to launch the Gathr Home page.
This completes the Gathr setup on your VPC environment using AWS Marketplace.
Terminate Gathr Single Node Setup
This topic covers information to rollback/terminate the Gathr infrastructure created by Cloudformation template.
Please detach the following security groups, if attached to any other resources (Such as, RDS, Redshift clusters, EC2 instances, etc.) that are not created from the Gathr Marketplace CloudFormation template.
<CFStackName>-GATHRWebServerSecurityGroup
<CFStackName>-GATHREMR
On the AWS CloudFormation console, choose the Gathr Cloudformation Stack that you want to terminate and click on Delete.
This action will delete the resources that were created as part of the selected Cloudformation Stack.
Backup and Restore
To create backup of Gathr AWS EC2 Instance you can utilize AWS Data Lifecycle Manager. Follow the below link to create AMI Backup and schedule backup automation:
To restore Gathr EC2 Instance using the AMI created either manually or using the AWS Data Lifecycle Manager as mentioned in above link, follow the below steps:
Gathr needs two ENIs for communication, either create two new ENIs, create one Primary ENI in public subnet, only if you need to access Gathr UI via Public IP, or choose Private subnet for both ENIs, and attach the security groups, GATHREMR and GATHRWebStudioSecurityGroup, created during the previous Gathr Installation done using CloudFormation Template. Skip this step if you want to use the two ENIs already created during the previous Gathr Installation done using CloudFormation Template.
Skip this step if you are using existing ENIs in step #1. If you have created new ENIs in step #1 and one ENI is in Public Subnet for UI access then you must, attach a new Elastic IP to that ENI or attach the existing Elastic IP already created during the previous Gathr Installation done using CloudFormation Template.
Select the Gathr AMI backup and click on launch instance.
Provide Name for the instance, also choose the Instance Type, preferably m5.2xlarge or choose the one provided during the previous Gathr Installation done using CloudFormation Template.
Attach the existing ENIs or ENIs created in step #1, attach Public (Primary) ENI for UI access at device index 0 and the second Private ENI at device index 1, respectively.
Provide existing EC2 IAM Role (Instance Profile) created during the previous Gathr Installation done using CloudFormation Template.
Launch the EC2 Instance, and once it is launched SSH into the instance.
Skip this step if you are using existing ENIs in step #1. Download the below shell script and execute it from root user, if in step #1 –
One ENI is launched in Public Subnet and an Elastic EIP is attached to it, then, run the shell script like this –
$ wget https://cdn.gathr.one/gathr-unlimited/scripts/gathr_restore_config_update.sh
$ sh gathr_restore_config_update.sh <Elastic-IP>
Here, either replace
Otherwise, if both the new ENIs are launched in Private Subnet then, run the shell script as mentioned below:
$ wget https://cdn.gathr.one/gathr-unlimited/scripts/gathr_restore_config_update.sh
$ sh gathr_restore_config_update.sh
FAQ’s
Q: Can I launch multiple Gathr Envionments in a single AWS Account?
A: Yes, you can launch one or more Gathr Environments within a single AWS Account, and in same or different AWS Region. You can create multiple Gathr Environments, like, Dev, Stage, and Prod in the same AWS account.
Q: Will Gathr charge me for running multiple Gathr Environments or just for the Pipelines that run via multiple environments?
A: Gathr only charges for the Pipelines that run, for example, if you have two pipelines running through two different Gathr environments, then you will be charged only for the two pipelines and not for running the two Gathr environments. Cost for AWS Resources, used by either Gathr environments or pipelines, are not included in Gathr’s charges, AWS will charge you for those separately. For example, if you have three different environments in a single AWS Account, Dev, Stage, and Prod, with 3 Pipelines in Dev, 1 Pipeline in Stage, and 1 Pipeline in Prod running, then you will charged for all the 5 Pipelines running.
Q: How to create backup and restore the Gathr Environments?
A: You can create AMI Backups of entire Gathr EC2 Instance, along with the attached EBS Volumes. This AMI and EBS backup can be used to setup the Gathr Environment again, with all the user data available till backup was taken. To automate the AMI Creation backup task refer to Backup and Restore.
If you have any feedback on Gathr documentation, please email us!