Steps to Create a Processor Group
To enter the Processor Group listing page; select Processor Group from the Project home page.
To create a new processor group, click the + icon at the top right side of the screen.

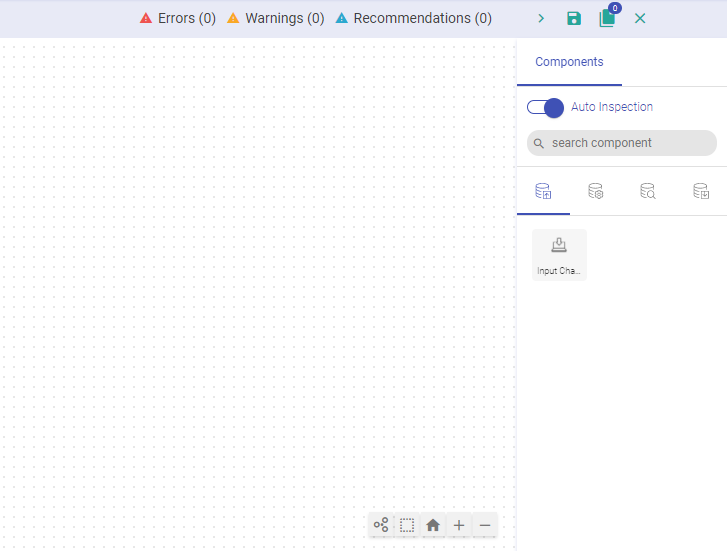
You will land at the processor group canvas page.
To create a new processor group, select the input channel(s), choose transformation(s), select the output emitter.
Steps to create a processor group:
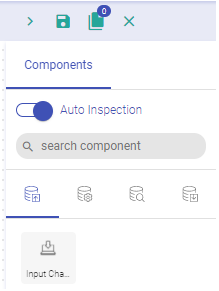
Select input channel and configure it:
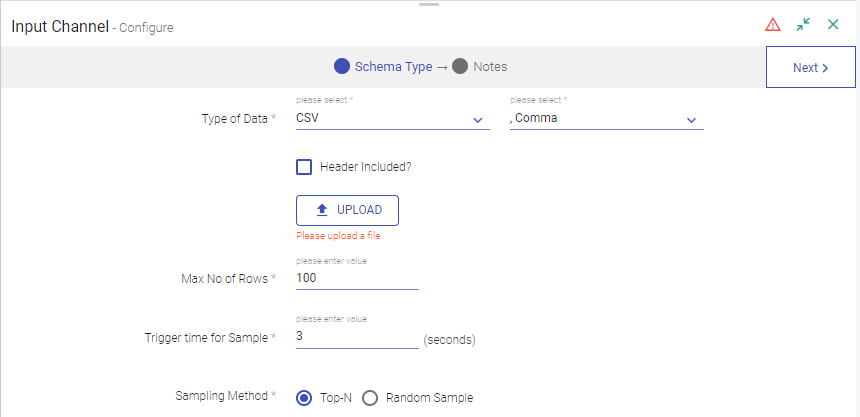
If your data contains header, check mark the header included option and upload the data file. Click Next to detect schema. Save notes, if required and click Next.
Select processor(s) from the Processors/Analytics tab under components panel and configure it.
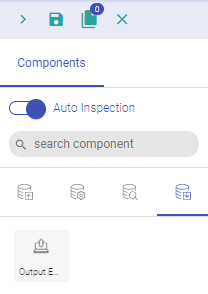
Select an output emitter.
Save your processor group.
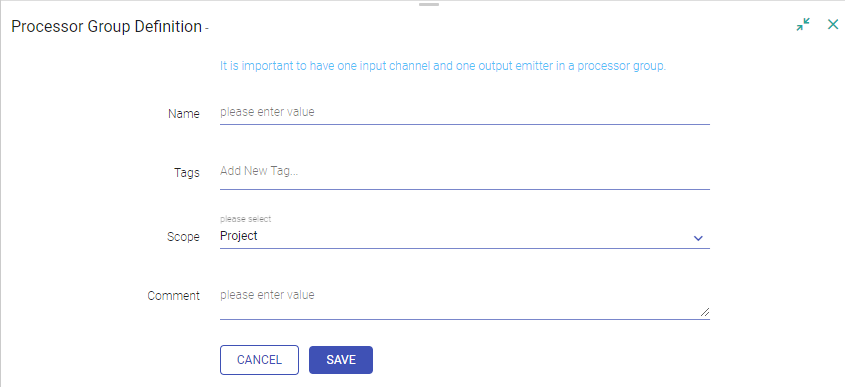
Field Description Name Define the processor group by mentioning the name. Tag User may add tags. Scope The user can select scope as either Project or Workspace.
Note:
- If the user selects Workspace as scope then the created Processor Group will be visible across Project(s) of that Workspace.
- If the user selects the scope as Project, then the particular Processor Group will be visible within the Project only.
Comment User may add the associated comments. (Click Save).
You can also edit or delete the processor groups by clicking on the edit or delete icon against the created processor group on the processor group listing page.
- While importing a pipeline with processor group, its default scope would be Project.
List of unsupported processors:-
Custom
Scala
Python
ML Models (Spark ML)
H20 Models
Python Model
PMML Model
If you have any feedback on Gathr documentation, please email us!