Enter a Workspace Administration
To enter a workspace, click on the enter icon.
Once the user enters into a Workspace, similar components will appear on the Workspace landing page as explained earlier in the Getting Started topic.
To know more about the Workspace menu, see Projects, Manage Workspace Connections and Manage Workspace Users.
Manage Workspace Connections
To navigate to the Workspace Connections page, the user can click on the Connections feature which is available in the workspace menu.
The user can create new connections at the workspace level in the same manner as it is explained in the manage superuser connections topic.
Notes:
Unique names must be used to create new connections inside a Workspace for similar component types. User will get notified in the UI if the specified connection name already exists.
The visibility of default connections and the connections created by Superuser at any Workspace level is controlled by the Superuser.
The connections created in a Workspace can be differentiated by the Workspace name in the list. The superuser created connections will appear in the list with the Workspace name as Superuser.
Connections listed in a workspace can be used to configure features like Datasets, Pipelines, Applications, Data Validations, Import Export Entities & Register Entities inside a Project. While using the connections for above listed features, the superuser connections can be differentiated from other workspace created connections by the workspace name.
Connections will not be visible and cannot be consumed outside of the workspace in which they are created.
Manage Workspace Users
A developer user can be created for a Workspace.
A developer user can perform unrestrictive operations within a workspace, such as operations of a DevOps role along with pipeline creation, updating and deletion.
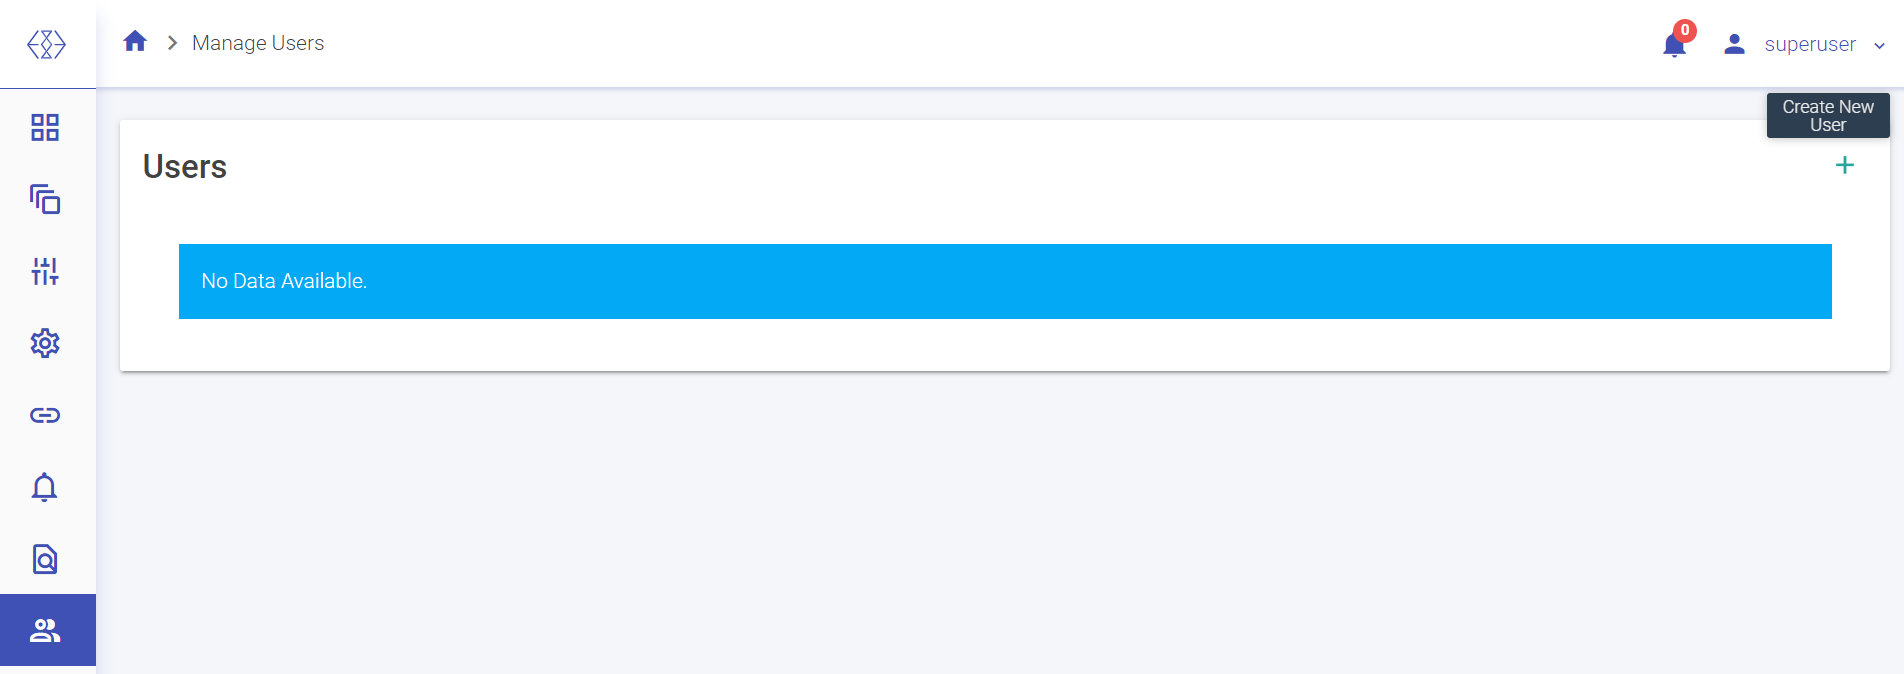
To create a new Workspace User, go to Manage Users and select Create New User.
Following are the properties for the same:
| Property | Description |
|---|---|
| User Role | Only a Developer user can be created from within the Workspace. |
| User Name | Enter a username that will be used to log in the Application. |
| Email Id | Enter an email id that will be used for any communication with the user. |
| Password | Enter a Password. |
| Confirm Password | Re-type the password. |
| Language | Choose the language, from English (US) and German (DE). |
Also, there will be options to configure the AWS Databricks and EMR as explained earlier.
Navigate Between Workspaces
Click the workspace icon in the upper right corner of the page to view a drop-down list of the workspaces. Choose the workspace from the list you wish to enter.
If you have any feedback on Gathr documentation, please email us!

